This is what you’ll finally get!!!

After building the simple to do DIY soft box,it is time to make the “speed ring” for the soft box and put the diffuser on.
What you need here is simple:
- 40cm*40cm DIY soft box (you did it in part I)
- A 10 cm diameter pipe :can be a plastic pipe,plastic jar of anything stiff enough to hold the soft box and about 20-25cm long.
- A good Sellotape (masking tape).

and lets go
1. Get the “speed ring” ready to use:as a speed ring I used a small baby food can (I have a lot of them cause I a have a baby boy!!!).Open the bottom side of the can with a can opener.Drill a small hole it the middle of the can (thats where the tripod will attach to the can,so don’t make the hole too big).

2.Use the masking tape to attach your new speed ring to the soft box.Tape it good so it won’t come apart.

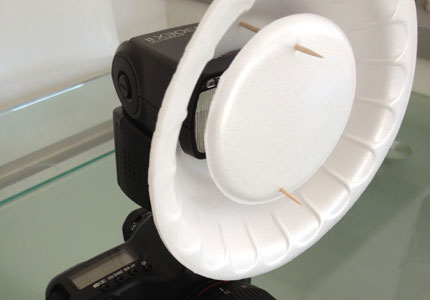
3.For the soft box diffuser you can use almost every material,I used here drawing paper.Get a rectangle 50cm*50cm and cut at corners 5cm*5cm squares.Put it on the floor/table and at the center of it place the soft box.Glue each side of the soft box to the drawing paper.

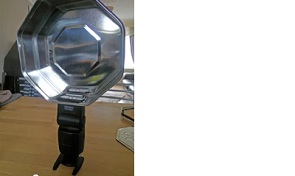
Great by now you already own your first DIY soft box!!!
If you followed the instructions you should have this softbox ready to use:
Share tuned for my first use of my first cheap DIY softbox:
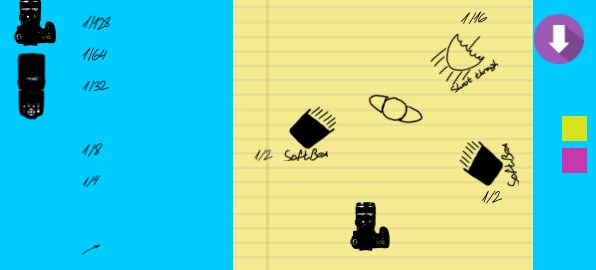
Just some moments after I finished building it’I took some flowers shot,This is the setup:

Share any tips or thoughts about this project!