Hey,Nice to see you guy reading me again,if this is your first time here ,you could register to my free Email RSS feed so you wouldn’t miss the next tutorial.I saw this kind of picture in a post written by a great studio photography named Robert Seale.In his article he wrote about how he photographed Lance Armstrong in his studio.As I don’t like Lans to much (I ride the bike,but don’t like the drugs thing in his sport),but I got the sympathy for his work in the research about cancer.Back to our tutorial,Robert used some big lights in his Lans shootout,180cm softboxes that I don’t thing the most of you guys keep at home to get really amazing shot.I asked my self how can I do it in the budget way that I like so much?So instead of the 180cm octagon softbox I’ll try to use the 30cm DIY shoebox softbox that I made a couple of weeks ago to get “similar” results.
P.S – If you get Lans to your studio I recommend to hide the shoebox softboxes and try something else…
Lets see what we got and how I made the shots.

What I used for the shots:
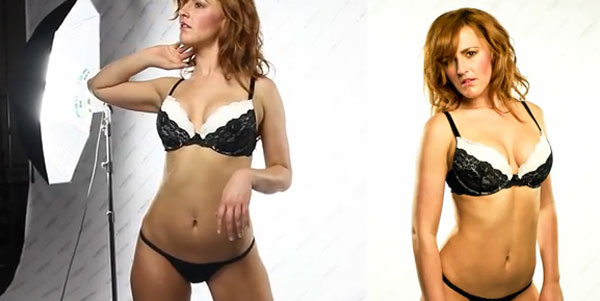
- Two DIY small softboxes made from shoebox.
- Two tripods (left- studio tripod and right- camera tripod) .
- Flashes triggered by : left flash-cable and right flash-radio trigger (didn’t had the batteries to operate the left side receiver,so used a cable).
- Two Canon speedlites : left-Canon 580EXII and right-Canon 550EX (you can use any flash with manual power settings).
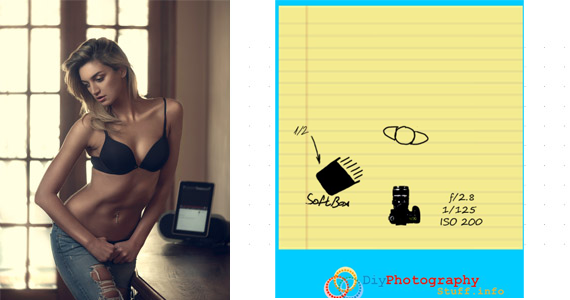
Camera and flash settings:
- Canon 40D camera.
- Shutter speed 1/250 sec to kill the ambient light.
- Aperture f1/8 for depth of field.
- Iso 100.
- Lens Canon 100mm macro (love it!!!).
- Flashes into a DIY small softbox at 1/4 full power.
Setup no.1:
Both flashes set in both side of the model about head high.I tried to get uneven lighting pattern on the models face,so put the left light a little back while the right softbox got a little angle,that the reason why the left side of the photo is a bit darker than the right side if the photo.I wasn’t happy with the hair details , so I had to switch to set no.2.

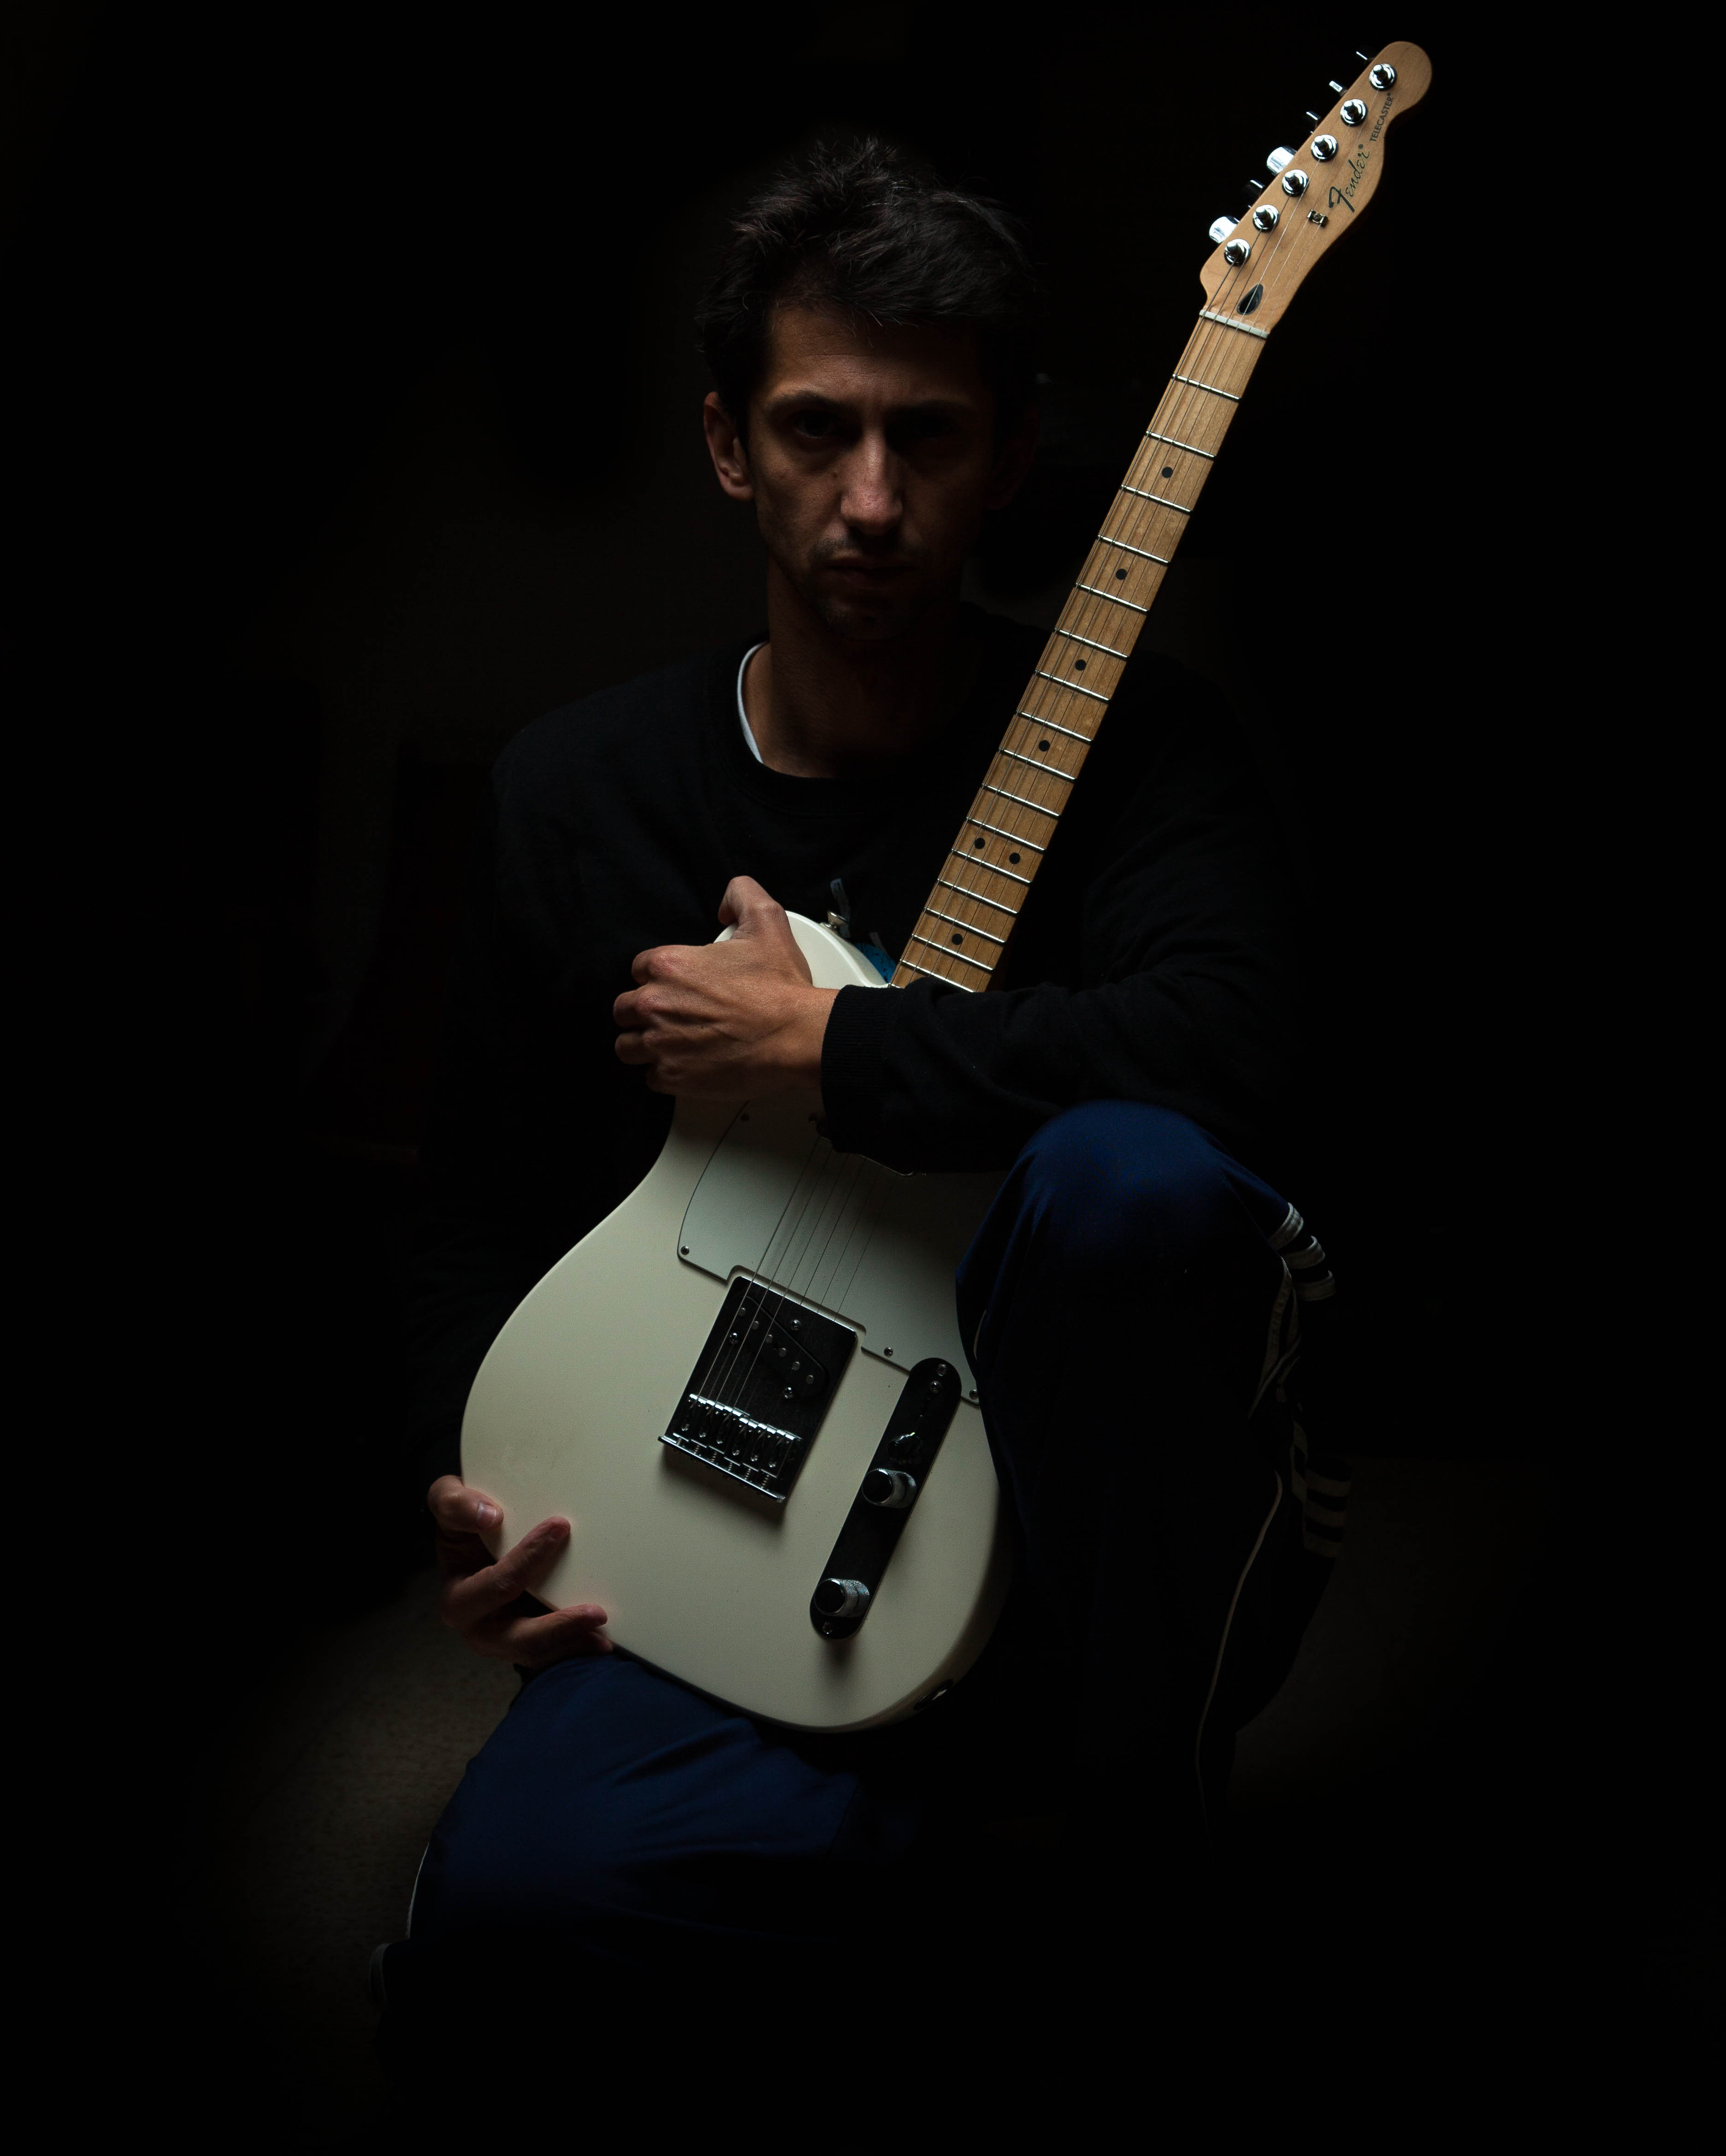
Setup no.2:
Flash power stayed untouched,the only thing changed in this setup was getting the left light a feet higher and pointing it down,as I wanted to see some more hair details in the picture.I got the more detail thing I wanted,but unfortunately,as I used only two flashes I got less details from the left side of the models face ,especially from the chick.Lets see what happened in setup no.3.


Here I moved the left flash to the back of the model.This was for getting more definition on the head and give the model some mysterious look,us I almost totally darkened the left side of his face.As you can see you get a lot of details about the head outline,but no lighting on the left side = mysterious look.


conclusions:
- If you want to keep the even light on the face and still get more details from the hair or get some head definitions use will have to add another light source to the party,or use some reflector on the “darker” side to add the light.
- Although I used the flashes in a long room (soon to me my home studio if my wife will let me) I still got some flash light at the back.If you want to kill that light you can or photoshop it out in a minute work or shoot the pictures on a black background.
Hope you learn something in that tutorial,and I wait to see your pictures and comments in here.
ENJOY!!!
If you are interested,this is the inspiration post from Roberts Blog,link.
the lighting is awfull on all shots.
I’ll be happy if you’ll be more specific than “the lighting is awful on all shots”.
You are welcome to try better shot with shoebox softbox and share with me to see the “improvements” you “suggested”.
See you soon back here Stan and thanks for visiting.
the lighting is awful on all shots.
Yes I know, Its a really old post, but fun do write…