Part I of the Portrait photography routine series will cover the routine for using two flashes:
- Flash to put light on the background.
- One flash to expose the model.
The principals for taking a good studio like picture are about the same for 1-1,000,000~ flashes.More flashes you have.More control you can get for your final result.More complicated work.(When doing it well) More professional result.
So lets start the routine for model shootout while using “only” two flashes:
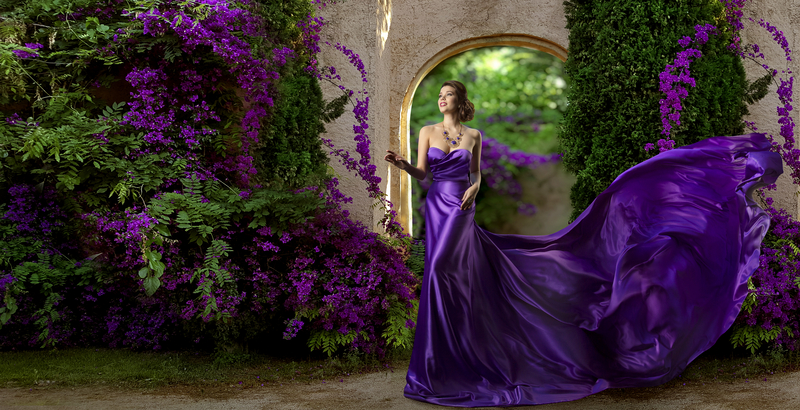
- Start by setting up your location:It doesn’t always has to be a pro white background.If you are looking for the white background,like in fashion magazine pictures,you can use a white wall behind the model.
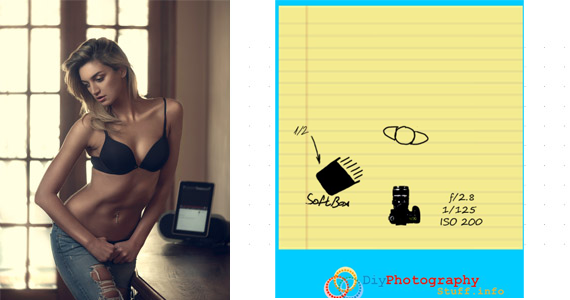
- Setup the fill light (background flash).Take a good exposure for the background.Before even setting up my main light,I expose the background the way I want.For getting a really bright white background I set the backgournd flash to relatively high output,in order to get it right (I recommend to expose the background two stops brighter than the front model in order to get it really bright).
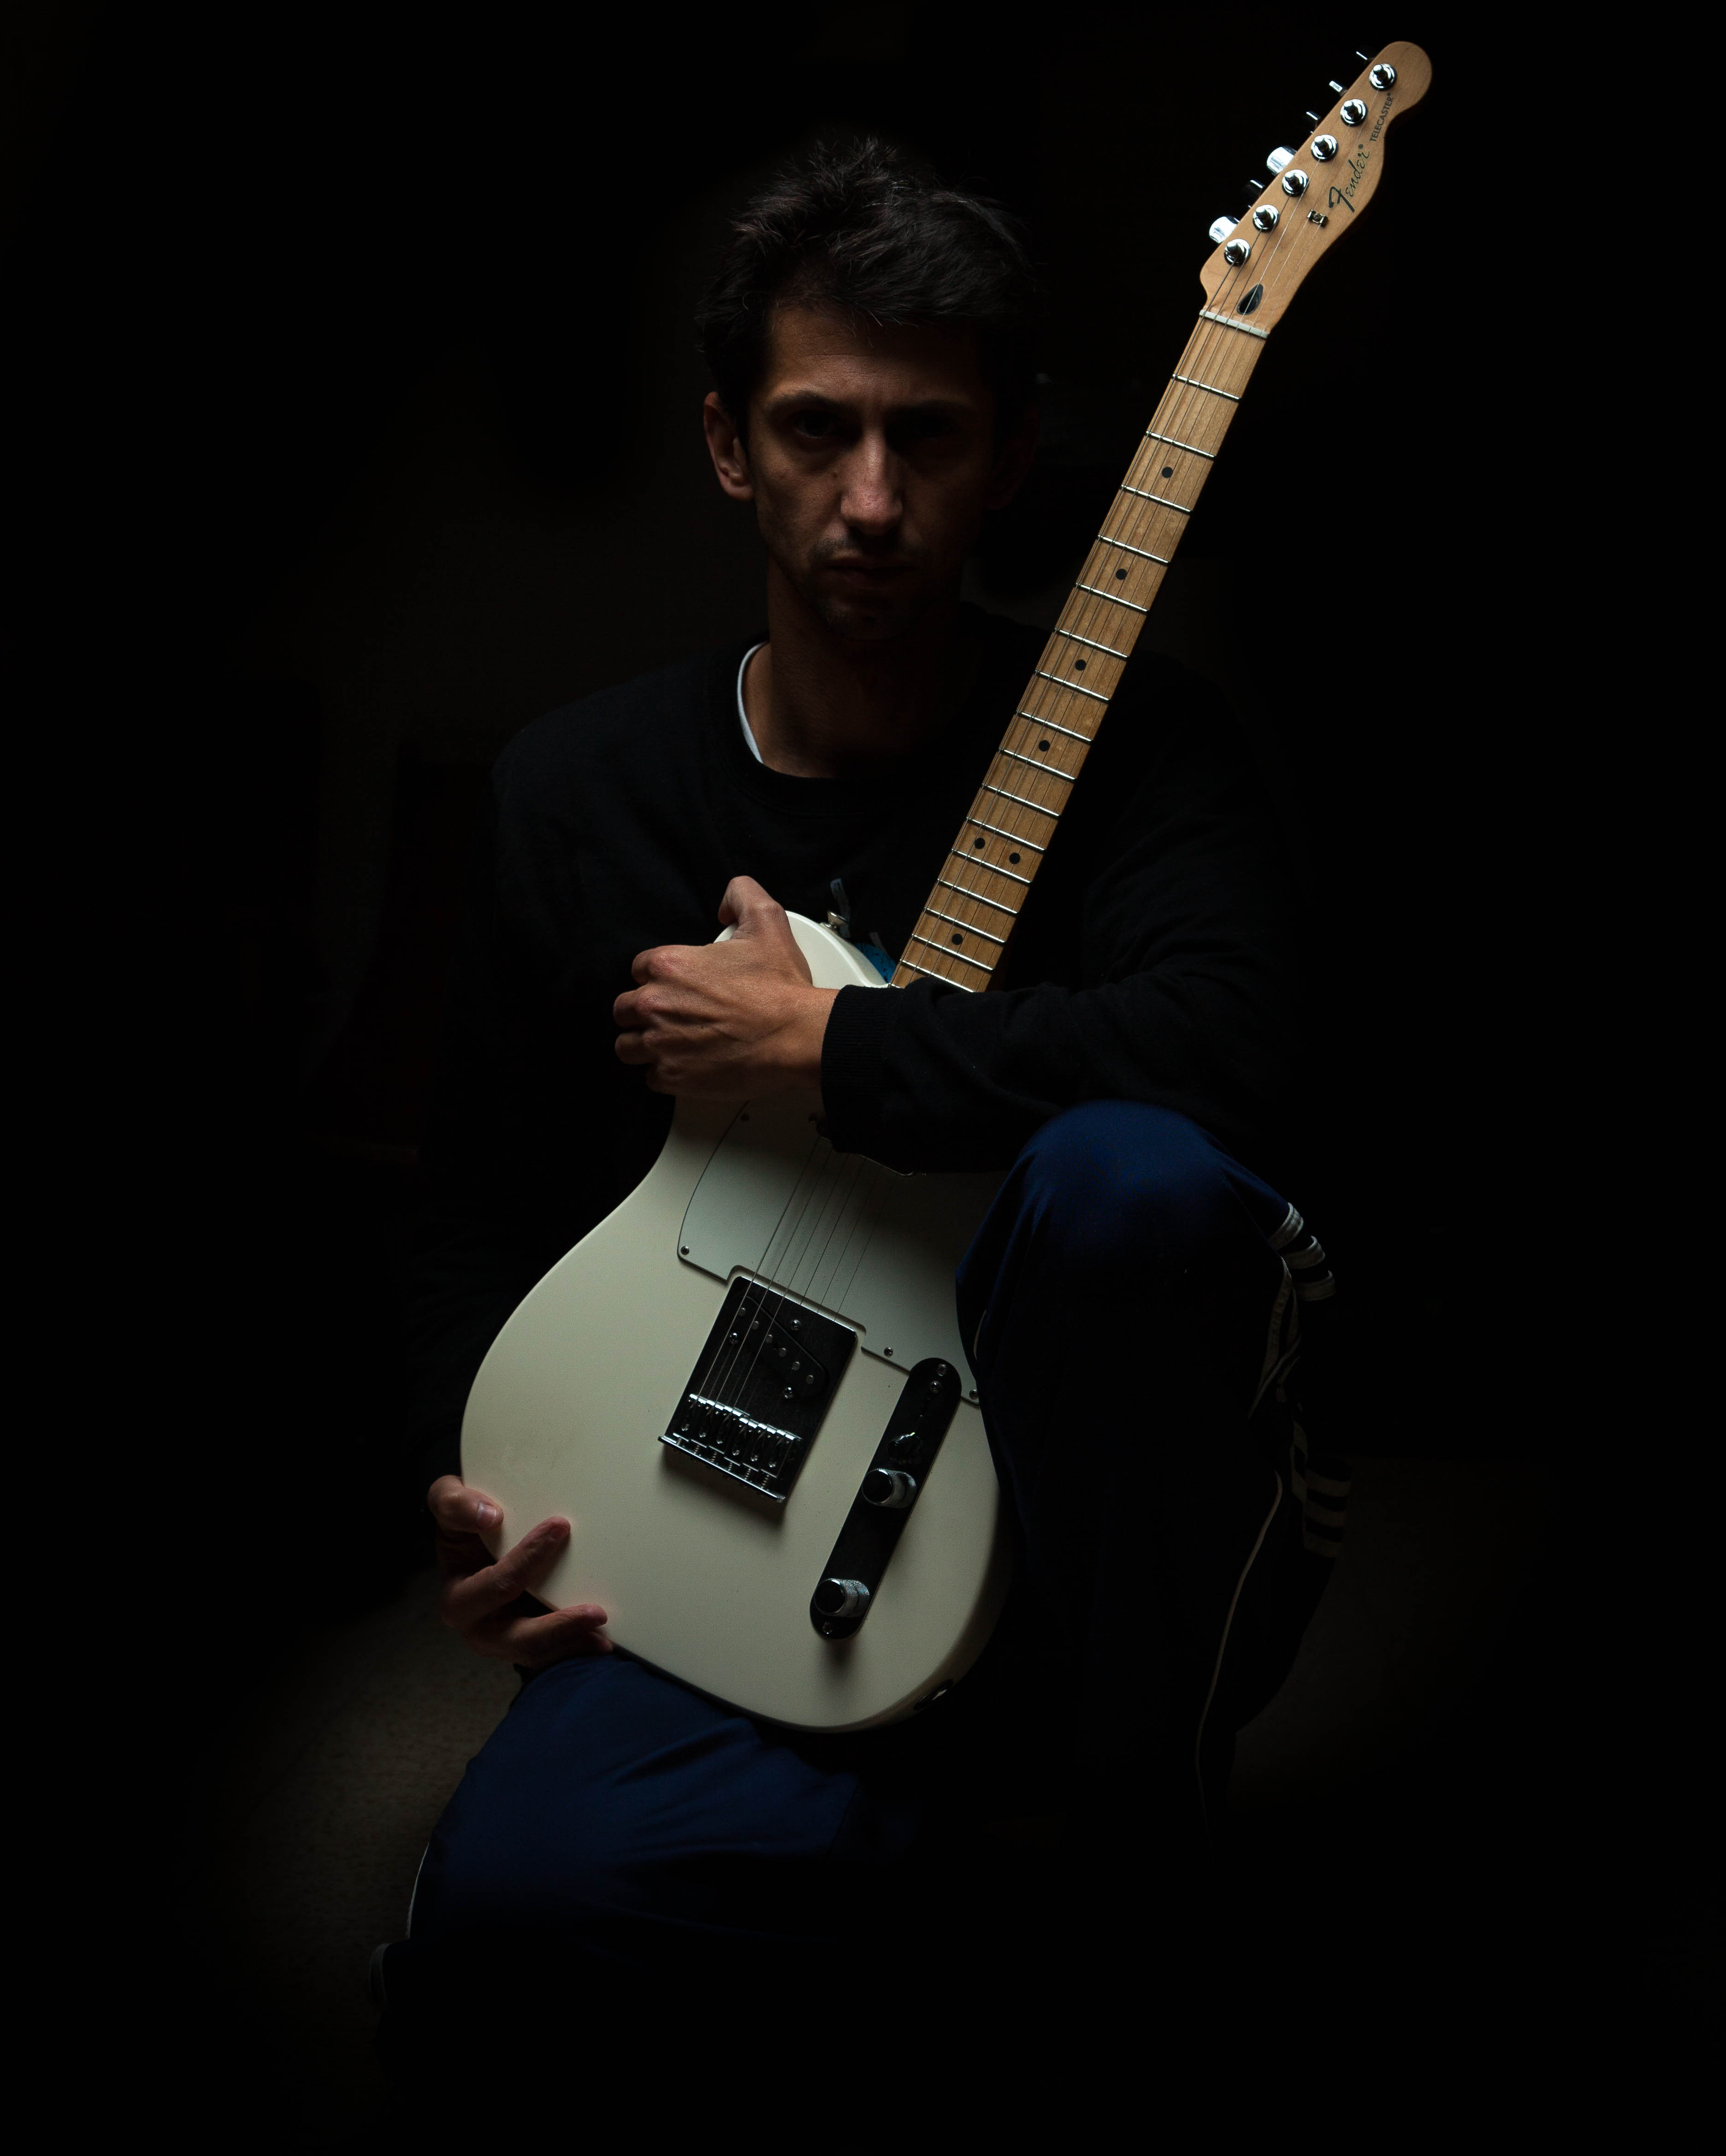
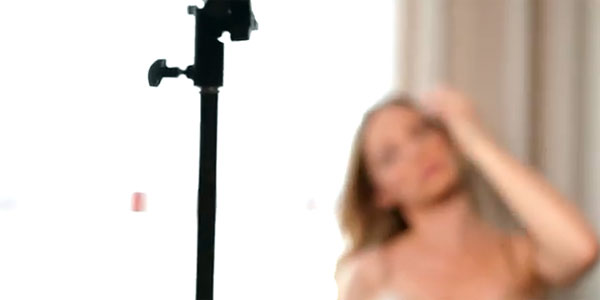
- Setup the main flash.After setting the fill flash its time to deal with the main flash.Put it up and try do shoot through some diffusion panel-softbox or an umbrella will do a good job most of the times.You could checkout our DIY softbox for a quick easy softbox.
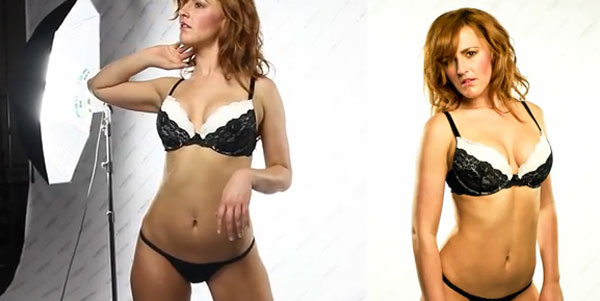
- Take some test shots.I usually take some test shots before letting the real model work.You could use a friend or assistant (a friend) for those test shots.Adjust the main flash correctly.It will be a smart idea to check your histogram for finding the sweet spot-well exposed background and model.
- Start shooting.Now that we are finished with the testing shots it time to let the model in.
Let us know how those tips helped you,and share your tips with our readers!
This a good check list for starters!
I like the simple steps you show!
Thanks,I want to keep it as simple as possible!