If you read part one of this tutorial about product photography using gel filters, its your time to move forward to part II.
In this part we’ll learn how to use the gel filter set and the DIY small flash grid
So get in and see how you can take those pictures too!!!
This is the list of stuff I used in this section:
- Products to photograph.
- A white foam board, costs about 2$ for a 70cm*100cm piece, will be great as a reflector too.
- Two of camera flash units.
- DIY gel filter holder and some gels.
- DIY grid for small flashes.
- Camera.
- Good luck!!!
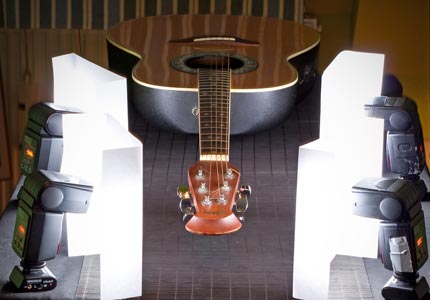
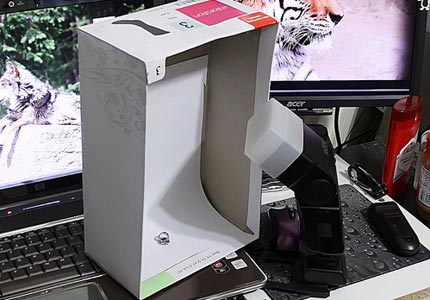
This is the setup usd me to take those photographs, it takes 2 minutes to set:
What you actually see here is a normal chair that holds a white foam. Under the chair I put a Canon 550EX flash with the DIY gel filter holder set to narrow beam as using the manual zoom option 105mm, that will get the narrow blue light behind the camera instead of a blue splash. On the camera right there is a tripod that holds my Canon 580EXII with a DIY grid for small flash. That’s all 2 minutes and you get ready to shoot those great looking photographs. Ahh almost forgot , my 40D camera is set to Iso 200,1/125 sec,f/7.1, and both flashes are set to 1/4 full power.
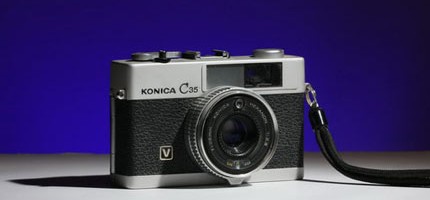
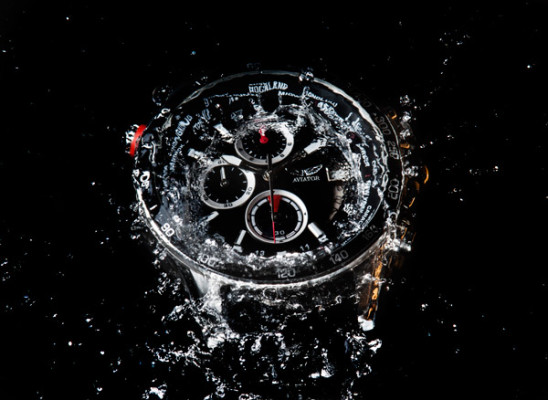
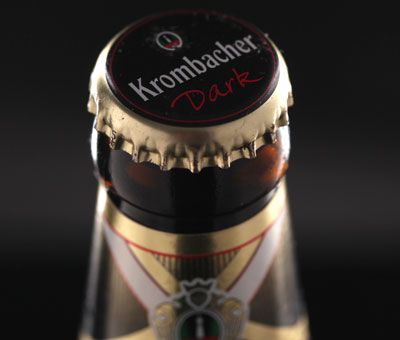
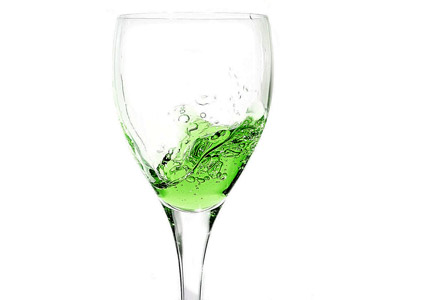
Lets get going, and see some samples of what you can achieve with that simple setup!!!
Share your thoghts with as and place your comments here!!!


Hey great to see part 2.
Althought I liked part I better,this is a very good place to learn from!
Thank!
Thomas,
AK
Good to see you visiting my site!
Its a pleasure to know that you see the differences between the two versions and find what is best for you!
Keep on coming!
Moshe Samuel!
what is the filter gel is it a filter with specific colour pl detail
I made this shootout a long time ago, so I don’t remember the exact gel color, but the reds are amber . About the blue one, sorry, but I don’t remember.
PEACE