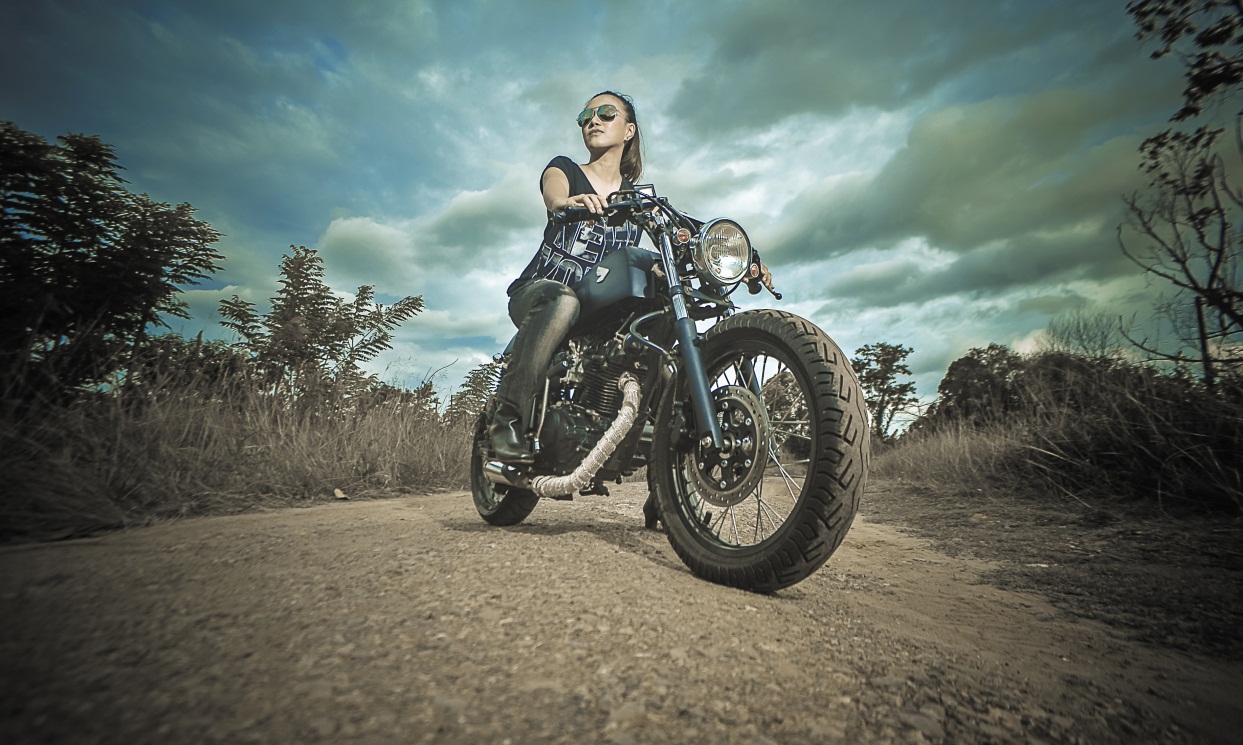
Hi, This time I want to introduse you to Arnasphoto, he took a relly good biker image while using readly budget gear, only ony YN560III (the YN560III reviewed here) Hi, My name Zulfikar Arna, from small town called Sorowako on the north part of South Sulawesi, Indonesia. I would say thank Continue Reading
Tips
Some things you should know about photography lighting,techniques and photography matters
How to Photogrpah Beer Bottles – Part One
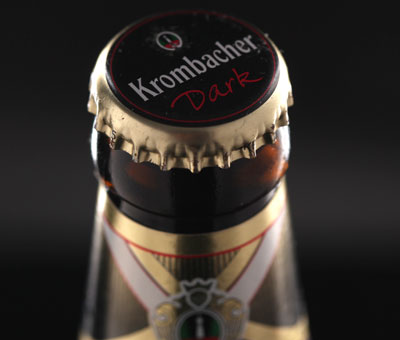
After posting last tutorial on how to photograph wine bottles (never mind , how to finish the bottle 10 minutes later) I wanted to share another technique you can use when photographing bottles or glass objects. This time its about how to photograph beer bottles (I drunk the wine now Continue Reading
Swim Sport Photography – Two lights setups
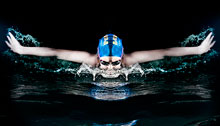
Photographing in water can be a bit expensive (in case you don;t know how to water proof you gear). I saw some photographers using nylon bags to cover their flashes while they try to get some images done. in case you want to use your flashes in the water, there Continue Reading
Top 4 Free Online Photography Tools For Your Browser
Hi This time I want to share with you some tools you might haven’t know about,There are many cool online editor add-ons, the most popular platform for those is chrome who has google/android support, so there are tons of apps for your browser. Some of them are so good that Continue Reading
PS and Ai Keyboard Shortcuts
Hi, I found this graphic keyboard image of some Ps (Photoshop) and Ai (Adobe Ilusrator) I think you might find interesting. Feel free to share! I’m pretty sure there are some more Keyboard Shortcuts infographic like this one, I’d be happy if you share it here in the comments section Continue Reading
5 Minutes For Two Flash On Location Product Photography
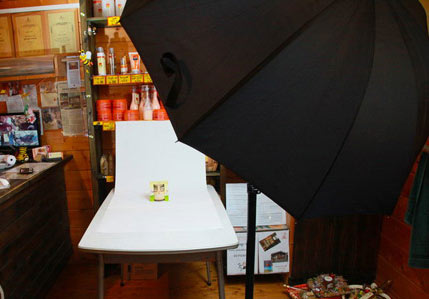
Hi, recently a friend of mine, who has a beehive (Yep she and her family makes honey for years) , asked me to shot some images of the products they are going to put on sale during the upcoming holiday here in Israel .As I was sure we are going Continue Reading
Its all about the jaw
Hi, I digged up this video, it about a basic facial posing tip, by Peter Hurley. You might like it or you might not but the chin disappears there, so enjoy this piece, its amusing and light too PS, Peter also has a site and a very nice blog too!!!
Photoflex Launched a New Site Recently
I got an Email today from Photoflex that they launched a new site design. Why I’m sharing thi s info with you? I must confes that back then (some 5-6-7 years ago) when you started to go online for some info about photography and flashes there weren’t to much info available Continue Reading
Canon 5DIII Vs. Nikon D800 Video Reviews Colection
Both rivals got their new updates for their popular full frame bodies. As a Canon photographer, I use the 5DMkII, I don’t intend to buy or upgrade my 5DMkII to the newer version, I think I currently have a very powerful photography tool. If I had some spare money’ I’d Continue Reading
The Digital Holga?
Some time ago, I wanted bad to shoot some film, yes you know I was practically born into the digital era (had a Pentax “digital camera” before my first Canon G3!!!). So I played a little with some films until my son decided that the film camera is his,and I Continue Reading
Using Speedlights With a Brolly
As I might mention some posts before , my first try at more “normal” lighting diffusers, was some years back when a friend of mine (Chen, thank you!) got me a Photek Brolly from B&H, those where times where shipping wasn’t so easy to Israel and not so many alternatives for Continue Reading
RingFlash On The Budget – Part1
Hi, if you fancy a ring flash , but on the budget, this one is for you! It all started with two probably (I say probably cause I didn’t used them yet) great and very popular gadgets, those are: Ray Flash Ringflash Orbis Ring Flash Kit The only problem with Continue Reading
Panning Photography Tips – Circular Panning Trick
We had an article about panning photography a couple of month ago, you can read it here – Panning Photography. In General panning is all about capturing images while the main photographed object is in some kind of move, what kind of movement? Any type, it can be a car Continue Reading
Lighting in 3D – Guest Post
This time I want to introduce you with Matan Eshel a very talented proffesional Photographer from Israel, mainly photographing landscape,portraits and fashion photography. You can see some of his beauty work in his online gallery – Matan Eshel Photography . Matan writes here on his view on creating 3D view in Continue Reading