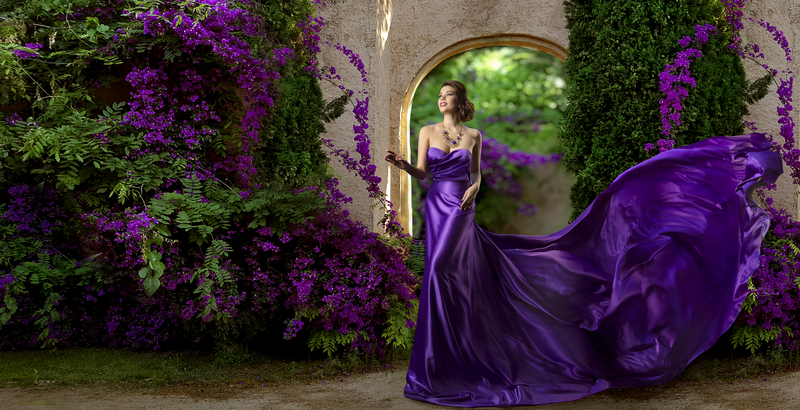
Fashion photography is all around us. Fashion photography incorporates a range of styles. This concept involves product, portrait, and even fine art photography. Fashion photography is all about narrating a story. When it comes to how you tell it, the alternatives are unlimited. The best aspect is that you may Continue Reading
Portrait Photography
Get the Tips you always needed to explore your Portrait Photography skills.
One Light Setup for sexy photography – By Shotie Blackmore
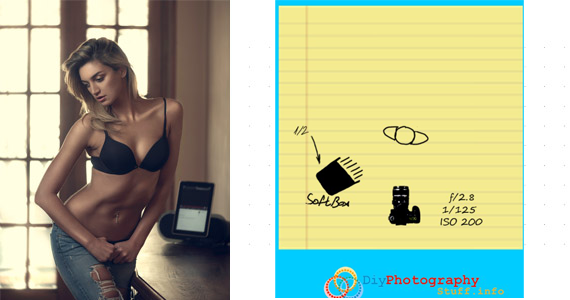
Using “strobist gear” for top level photography allways made me happy, it made me realise that I don’t must have tons of expensive flash strobes in order to get professional results and thats fun. This time we Shotie Blackmore, a portrait photographer that I met on facebook, Shotie shared the Continue Reading
The guitar self portrait
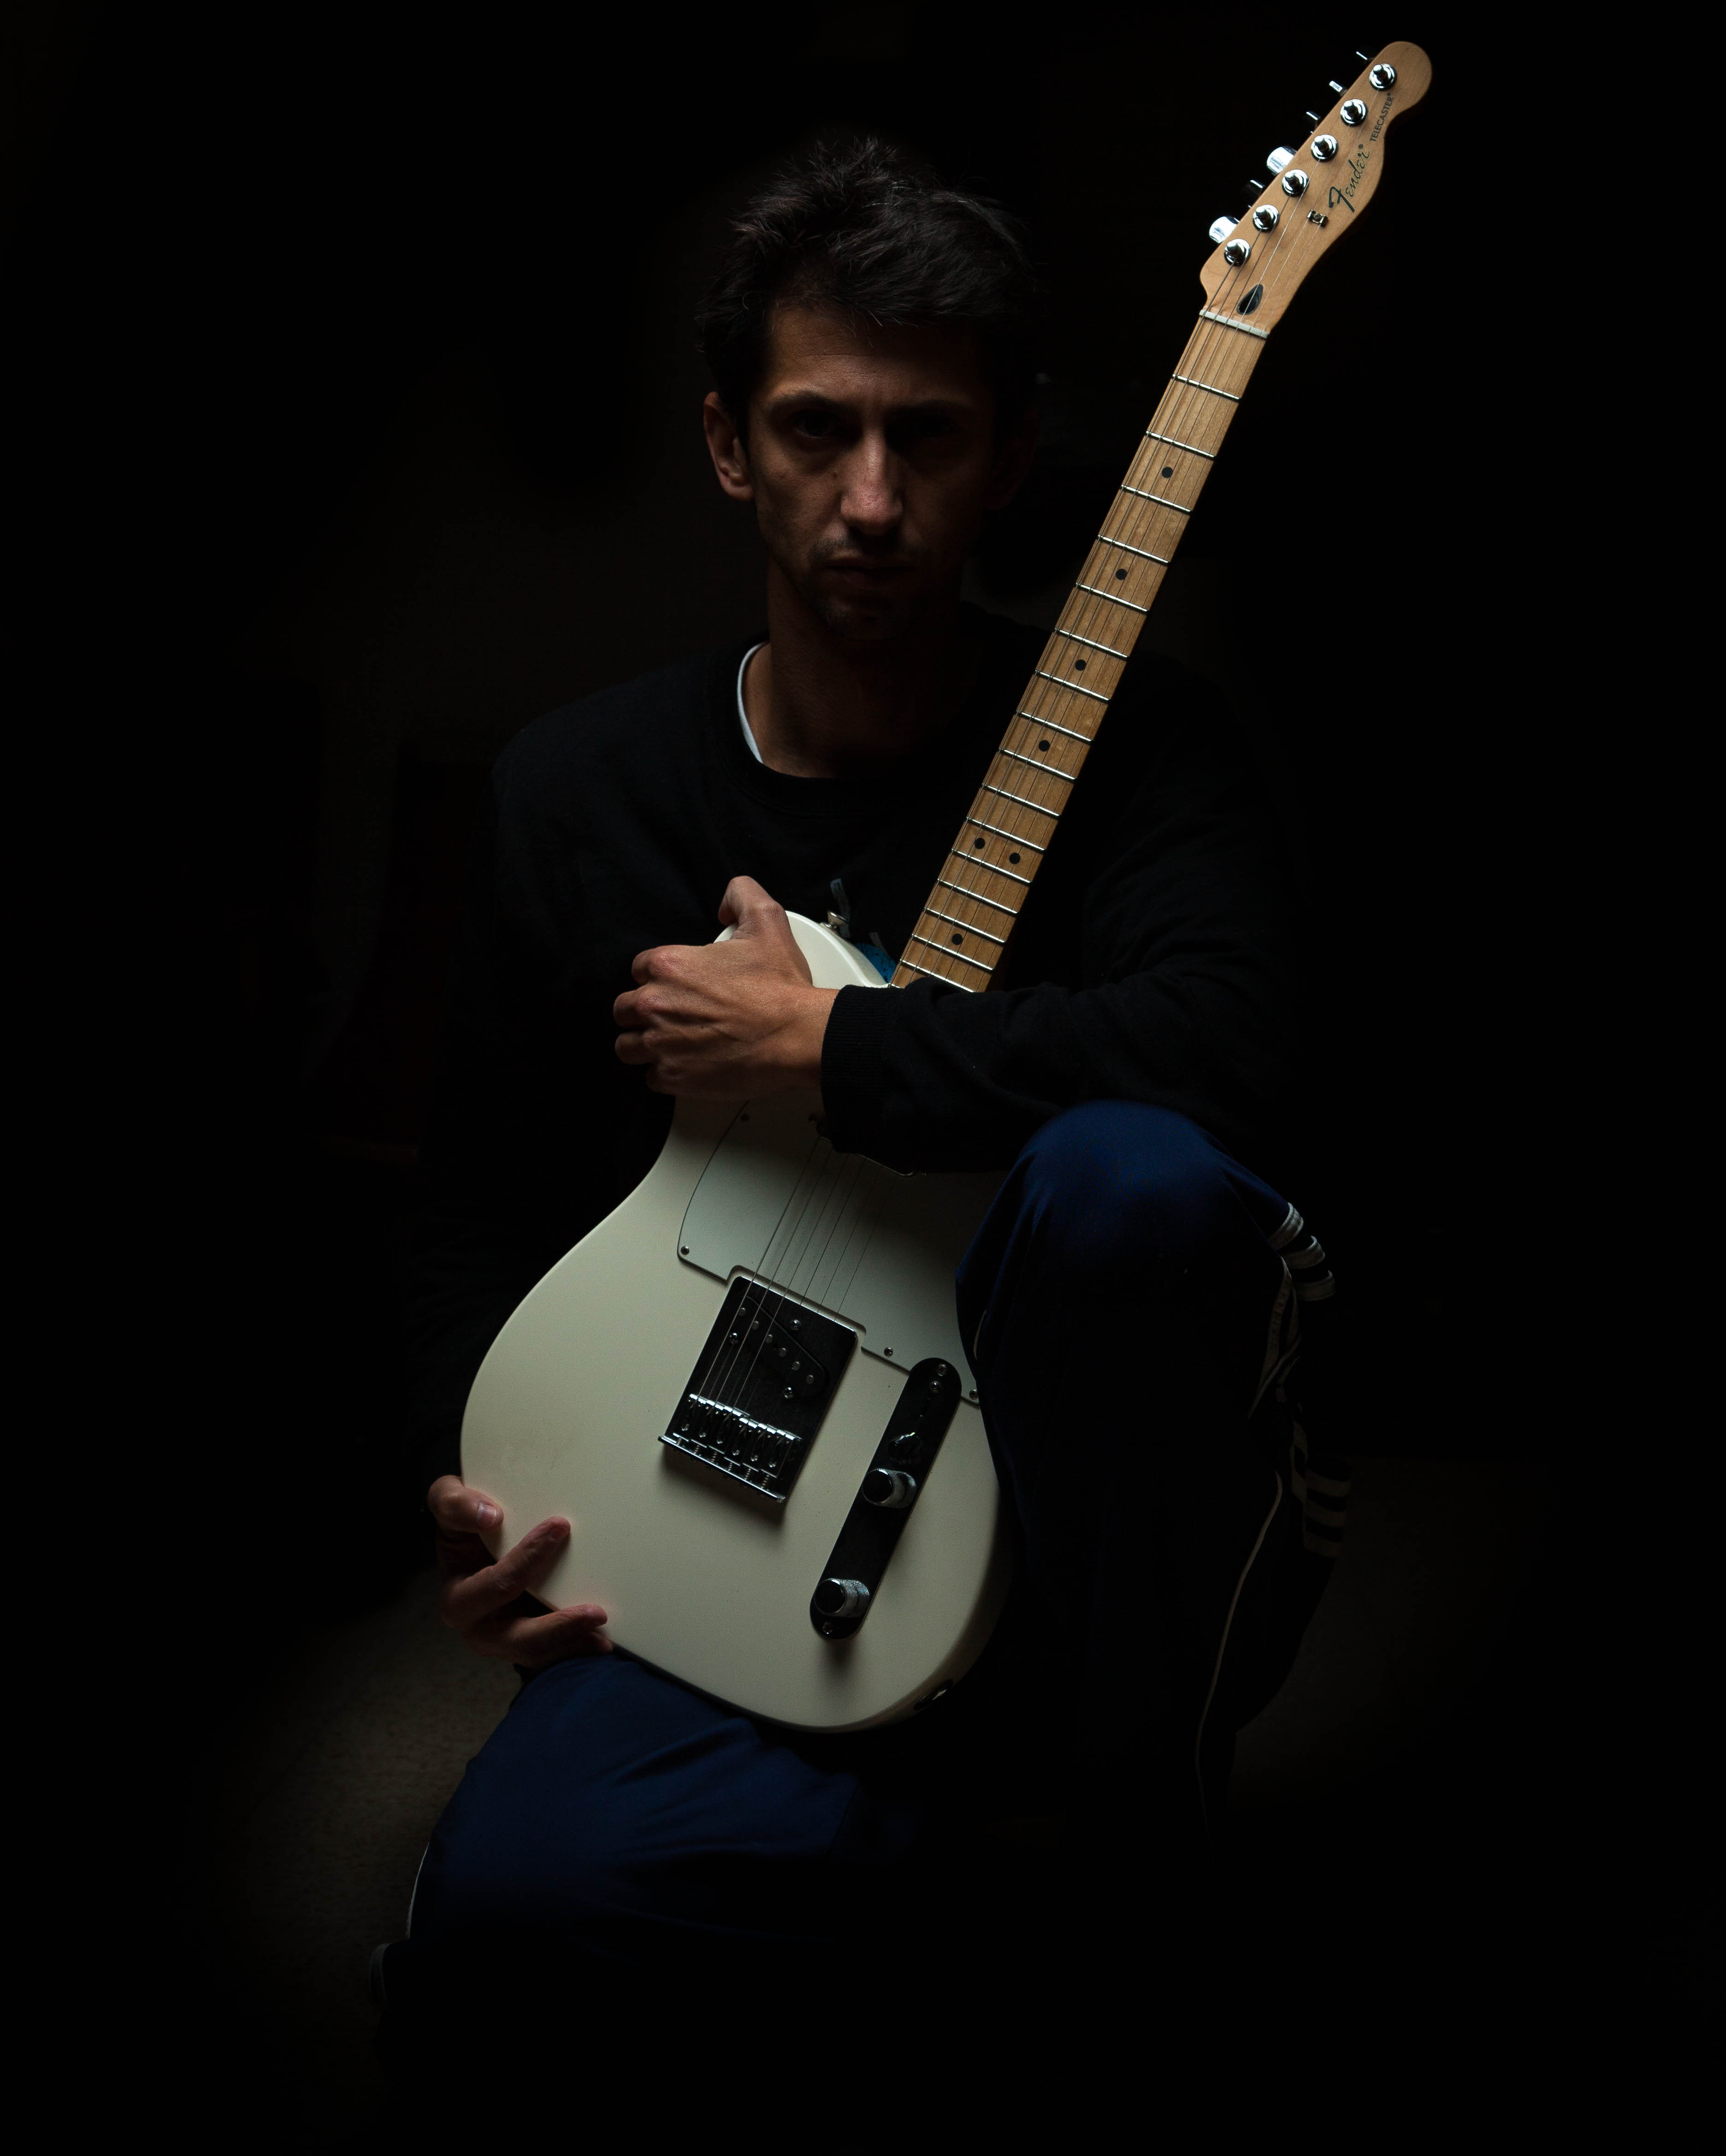
Hi folks, I started following some photographers on Instagram lately find it to be a great source for inspiration. I must admit that I really abounded the photography for the last few month although I had some photo sessions ideas and plans on the going. However while I browse once Continue Reading
3 Lights Setup Video
Hi guys, I wanted to share with you a short video on how to use continuous lights for studio photography. Three lights used in this setup, two lights burned the background and on light used as the main light. When use continuous lights in a studio? In case you don’t Continue Reading
One light Classic Boudoir Photography with Jen Rozenbaum
Boudoir Photography is one of the popular eareas in portrait photograhy, why? cause its sexy and sexy makes it more fun `-) In this video Jen Rozenbaum explains how she uses one light (Westcott) for her basic Classic Boudoir photography. Jen likes to shoot using natural light , the westcott Continue Reading
Swim Sport Photography – Two lights setups
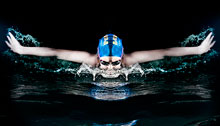
Photographing in water can be a bit expensive (in case you don;t know how to water proof you gear). I saw some photographers using nylon bags to cover their flashes while they try to get some images done. in case you want to use your flashes in the water, there Continue Reading
Shooting Between The Drops – A Wet Two lights Setup by Derrick
On Canon Digital Photography Forums , there are two posts that asks photographers to share their of camera flash photography sessions. I must say that on those very long threads, one has 80 pages and probably more than 200 different setups, you can find many ideas and sometimes when I Continue Reading
Soldier Vs. Andgry Birds – Photographing Toys In Action
Inspired both by an article I read this week in Popular Photography (Fungi FireFight by Mathew Ismael Ruiz ) and my son’s crazy period with the last children figures : Toys Story soldiers and Angry birds, I’ve decided that after so much time, it will be my shot at the Continue Reading
Its all about the jaw
Hi, I digged up this video, it about a basic facial posing tip, by Peter Hurley. You might like it or you might not but the chin disappears there, so enjoy this piece, its amusing and light too PS, Peter also has a site and a very nice blog too!!!
Basic Two Light Setups by Ricknunn.com
Hi, I was looking through google images for some light modifiers while working on a project about generating light diagrams and stumbled upon a very nice website+blog by Rick Nunn . Well it all started when I surfed Rick’s site, it has a very cool layout and liked it a lot, Continue Reading
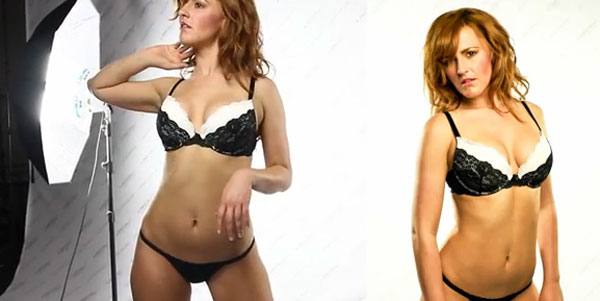
Using High Key For Lingerie Photography (videos by smokingstrobes.com)
Hi I found a very nice site about sexy ligerie photography tutorials, it is called smokingstrobes.com, site writer Michael Zelbel is kind of a master in using small flash units for those kind of photographs, probably the best sharing photographer in that area that I can recommend. In his site you’ll get Continue Reading
Basic Studio Lighting Setup – Zumba Model Shoot
Hi, this time I want to introduce you with Tomasz Nowak (photography site and facebook page), Tomasz shoots weddings and children in Poland, but as I found out is a very talented strobist photographer. I first met this simple studio setup on strobox (a source for many ideas for any Continue Reading
Panning Photography Tips – Circular Panning Trick
We had an article about panning photography a couple of month ago, you can read it here – Panning Photography. In General panning is all about capturing images while the main photographed object is in some kind of move, what kind of movement? Any type, it can be a car Continue Reading
Ben Sant’s Protrait Tutorials
Hey, I wanted to share with you a very talented photographer, Ben Sant, based in the USA. Ben has on his blog some very useful behind the scene tutorials for portrait and fashion photography using small of camera flashes, like we all love to use. I include here two of Continue Reading