Hey,in part I of this popular tutorial we’ll deal with the construction of the box itself.
So lets start working.
Here’s what you need :
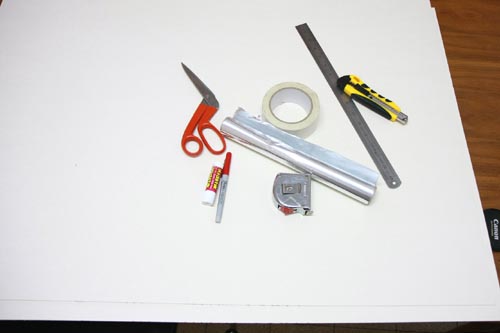
- 2 carton boards 100cm*70cm
- a good pair of scisors
- one marker pen to mark the misures
- Ruler (40cm or more)
- A measuring tape
- Tin foil (to act as the reflector in the softbox)
- Strong scotch tape
- An utility knife
Lets start:
The first thing we’ll have to do is getting 4 squares 40cm*40cm size.
So that’s how I did it:
1. Put a mark on the bottom wide side of the carton board every 40cm.Repeat that on the top wide side too.
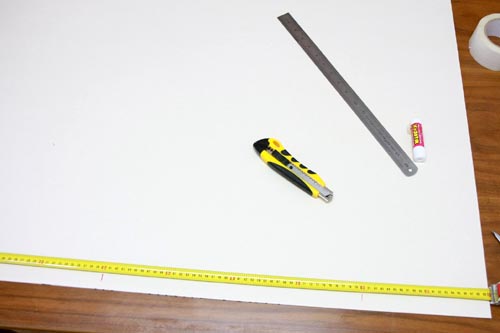
2.Do the same for the short side of the carton board (this will help you get the right 40cm*40cm squares).
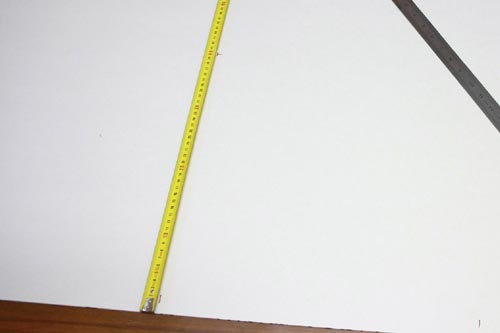
3.after you have those marks,draw the line that make the 40cm*40cm squares.
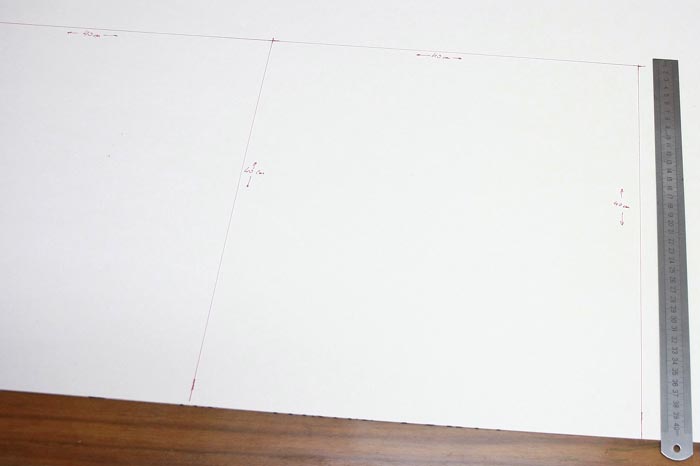
4. Use your utility knife to cut 4 identical 40cm*40cm squares.This what you’ll get then:
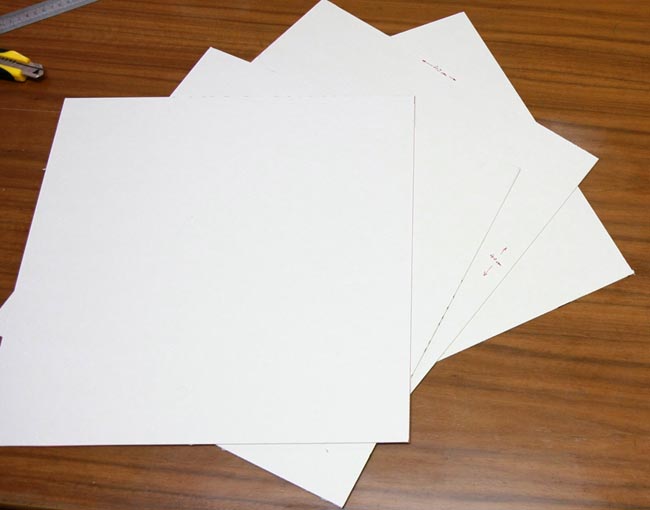
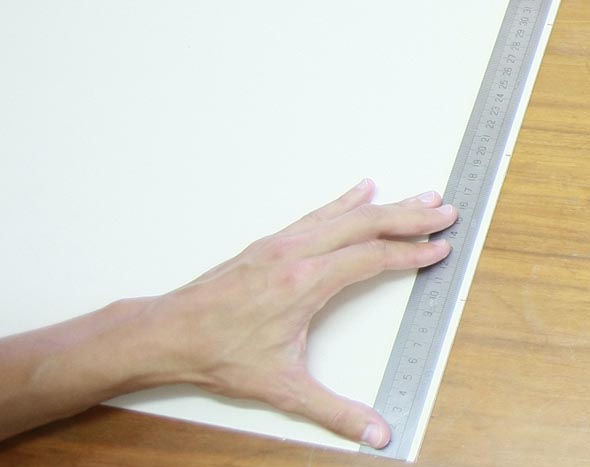
5. On each square make a mark every 10cm as in the picture bellow (right and left sides):
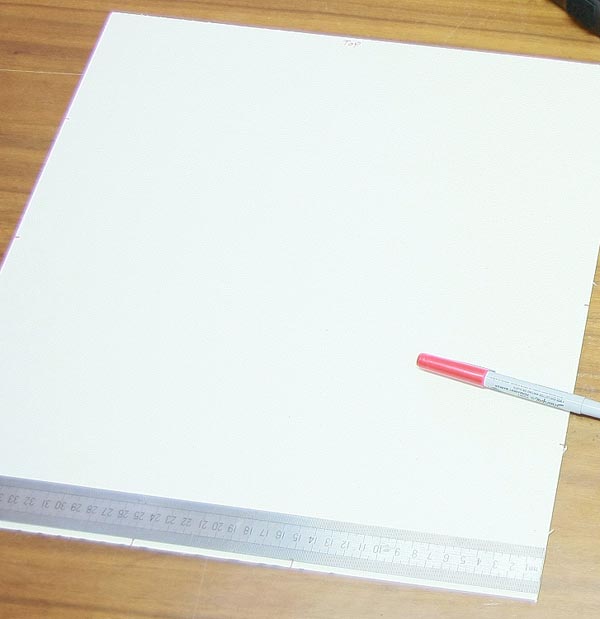
6. At the bottom of the square make 2 marks 15cm from the left side and 15cm from the right side (that 10cm space will be where your flash gun will get into the soft box):
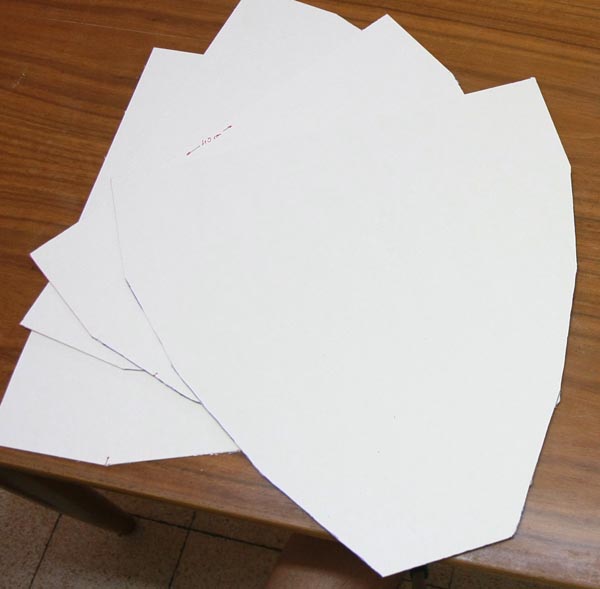
7. I missed one picture here,so I’ll make a draw of how each side of the soft box has to be cut.

8.Cut those squares and you’ll get this result:
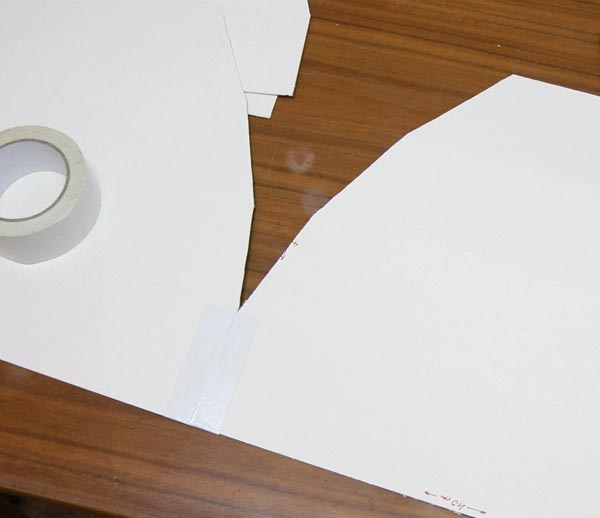
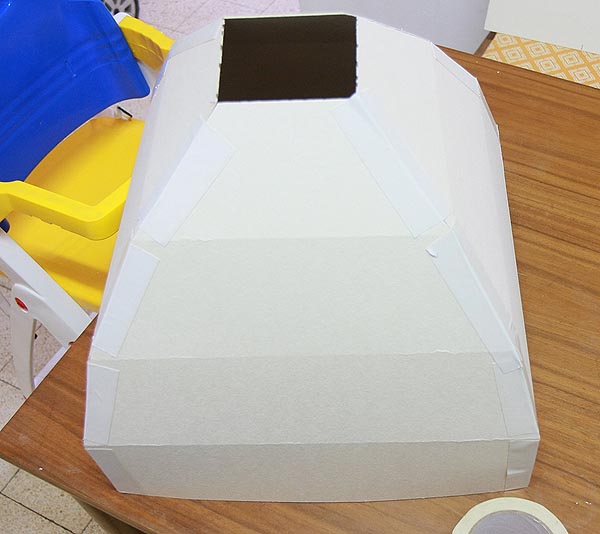
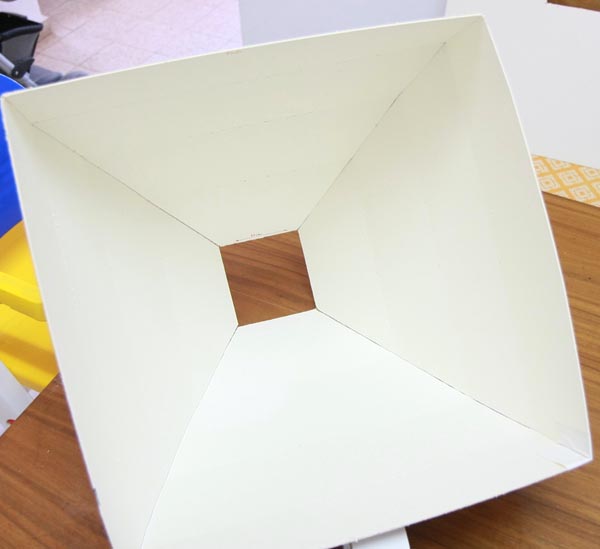
9.Now lets start putting them together.I taped two squares together and then taped them together to form the soft box frame:
OK That the end of part I on DIY Soft Box 40cm*40cm for Less Than 10 bucks,
In the next part close the DIY Soft Box 40cm*40cm for Less Than 10 bucks, and put a bracket on it.
Share your thoughts with us and comment here.
Enjoy

