Food photography is a deliciously challenging art that requires attention to detail and a keen eye for capturing mouth-watering shots. Whether you’re a professional food photographer or an amateur with a passion for gastronomy, following an essential food photography checklist can help you capture stunning shots of your culinary creations.
In this section, we’ll introduce you to the must-have checklist for elevating your food photography game and making your dishes look as delectable on camera as they do in real life. From choosing the right equipment and setting the perfect lighting to styling and plating techniques and editing, these tips will take your food photography skills to the next level.
Key Takeaways:
- Following a food photography checklist can help capture stunning shots of your dishes.
- Essentials of food photography include choosing the right equipment, setting the perfect lighting, styling and plating, composition and angles, props and backgrounds, and editing and post-processing.
- Attention to detail and a well-executed checklist is required to master the art of food photography.
Choosing the Right Equipment
When it comes to food photography, choosing the right equipment can make all the difference. Here are some essential items that can enhance your food shots:
Camera Options
For professional quality photographs, you’ll need a camera with full manual controls. Some popular options include the Canon EOS R5 and the Nikon Z6 II. These cameras allow you to adjust shutter speed, aperture, and ISO to capture the perfect shot. Don’t have a professional camera? A smartphone with a high-quality camera can also yield impressive results.
Lenses
Investing in a few lenses can take your food photography to the next level. A macro lens, such as the Canon EF 100mm f/2.8L IS USM, is perfect for capturing close-up shots of your dishes. A wide-angle lens, such as the Sony FE 16-35mm f/2.8 GM, is ideal for capturing the entire scene, including the restaurant and table setting.
Tripods
Using a tripod is critical for creating sharp, stable photographs. The Manfrotto 055XPRO3 tripod is a reliable option for food photography. It offers sturdiness and versatility, allowing you to take photos from various angles. Additionally, a remote shutter release can prevent camera shake when taking photos.
Additional Accessories
Aside from the camera, lens, and tripod, there are several other accessories that can enhance your food photography. A reflector is useful for bouncing light onto your subject, creating depth and texture. A diffuser is perfect for softening harsh light and reducing glare. And a color checker card can help you achieve accurate color balance in your photos.
Investing in the right equipment is essential for capturing stunning food shots. With the right tools, you can elevate your photography skills and create images that truly showcase the beauty of your culinary creations.
Setting the Perfect Lighting
When it comes to food photography, lighting is critical. Proper lighting can enhance the colors, textures, and details of your culinary creations, while bad lighting can make them look unappetizing and dull. In this section, we’ll explore different lighting techniques and setups to create the perfect ambiance for your food shots.
Natural Light
Natural light, such as sunlight, is a great option for food photography as it provides a soft, warm glow that can make your dishes look fresh and vibrant. Try shooting near a window or outside during the golden hour for the best natural lighting. However, be mindful of harsh shadows and glare that can be created by direct sunlight.
Artificial Lighting
Artificial lighting, such as studio lights or LED panels, is also an option for food photography. It allows you to have more control over the intensity and direction of the light, which can be beneficial for creating specific moods and highlights. However, be careful not to overdo it with the lighting, as this can make your dishes look artificial and unappetizing.
Diffusers and Reflectors
Diffusers and reflectors can help you manipulate and soften the light for your food photography. A diffuser can help reduce harsh shadows or glares created by direct light sources, while a reflector can bounce the light back onto your subject to create highlights and add depth. Try experimenting with different types of diffusers and reflectors to find the best ones for your food photography.
By mastering the art of lighting, you can create stunning food shots that showcase the best features of your culinary creations. In the next section, we’ll discuss various styling and plating techniques that will enhance the visual appeal of your dishes even further.
Styling and Plating Techniques
The way you present your dishes is just as important as their taste, especially in food photography. By adopting the right styling and plating techniques, you can make your food look irresistible in photos.
Start by choosing the right dishware and utensils that complement your food, and avoid any distracting elements. You can also play with the placement of ingredients, creating interesting shapes and textures that bring your dishes to life. For example, try arranging ingredients in a spiral or rectangular pattern.
When it comes to sauces and liquids, be mindful of the viscosity and color, as they can both affect the overall look of the dish. Use drip lines to add movement and depth, and a spray bottle to add a mist of liquid for a fresh and inviting appeal. Don’t forget to garnish your dishes with fresh herbs or spices, adding a pop of color and enhancing the flavor in your shots.
Composition and Angles
When it comes to food photography, composition and angles are crucial elements that can help elevate your photos from amateur to professional. The composition refers to the arrangement of different elements in your shot, including the placement of your dish, props, and background, while the angle determines how the viewer will perceive the image.
One of the most popular composition techniques used in photography is the rule of thirds, which involves dividing the frame into three sections horizontally and vertically and placing the subject at the intersection points. This method can help create a well-balanced and dynamic composition that draws the viewer’s eye.
Another composition technique to consider is leading lines, which are lines in the image that naturally lead the viewer’s eye towards the main subject. Leading lines can be created by using utensils, cutting boards, or other props that guide the eye to the dish.
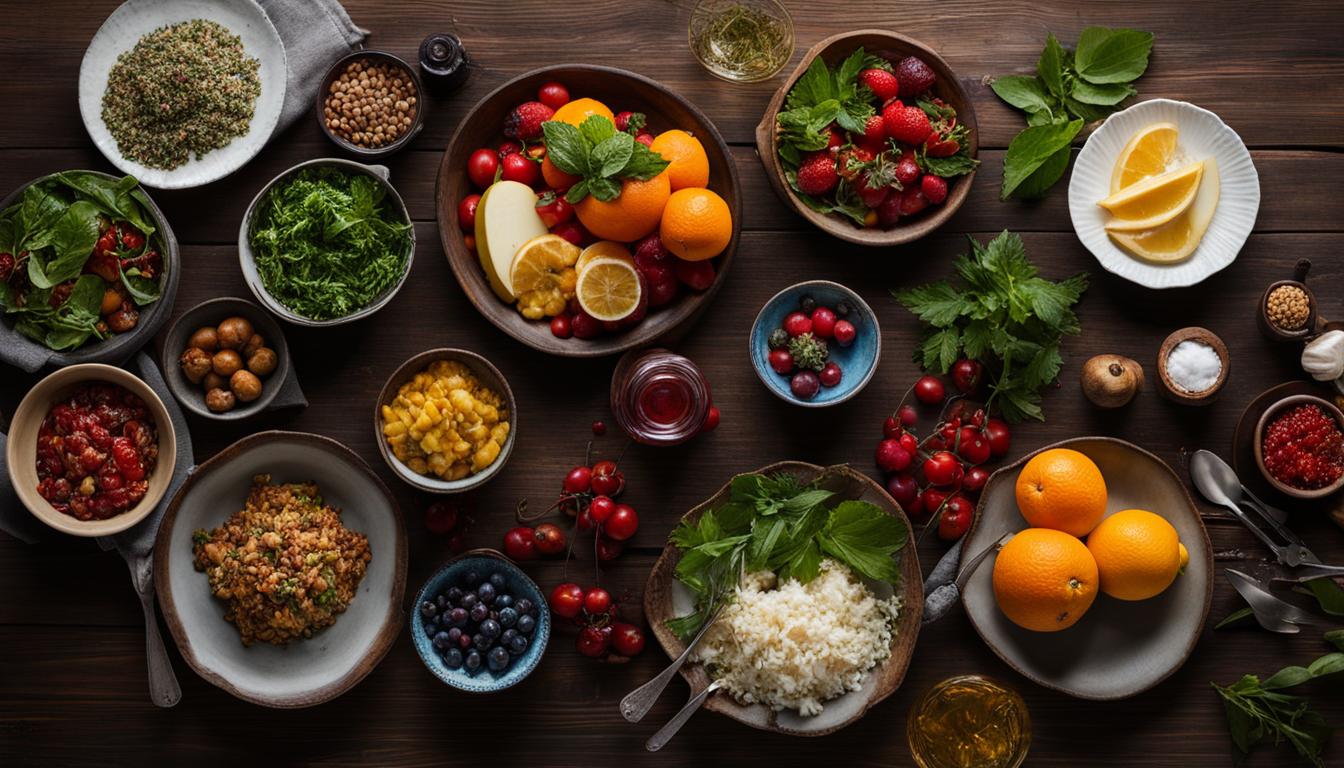
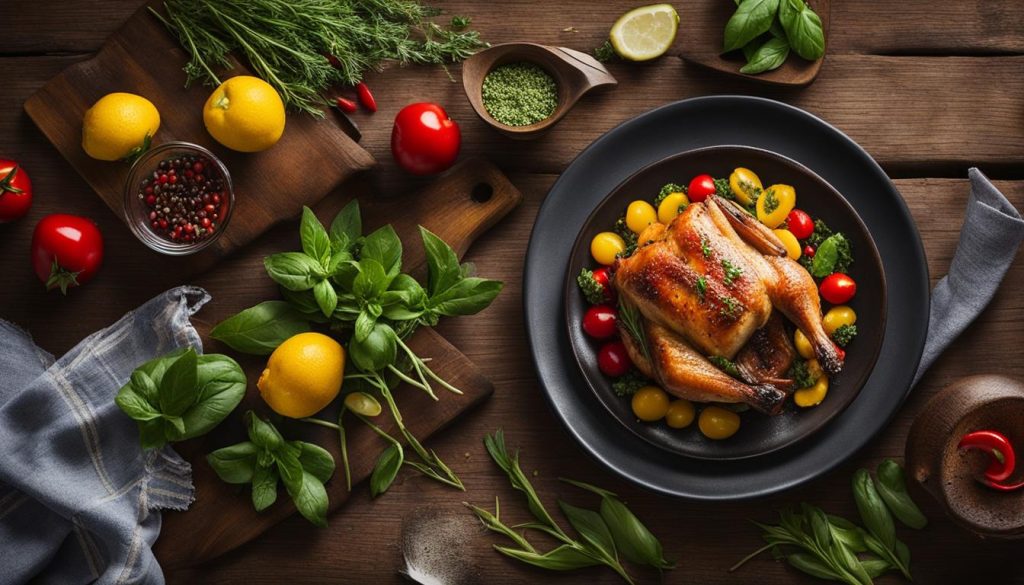
When it comes to angles, it’s essential to choose the right one to showcase your dish in the best possible way. One of the most popular angles for food photography is the overhead angle, which provides a clear view of the dish and its components. However, other angles such as the 45-degree angle or the straight-on angle can also be effective depending on the dish and the overall composition.
Remember, experimenting with different compositions and angles is key to finding what works best for your dish and style. Don’t be afraid to try new things and get creative with your shots!
Props and Backgrounds
If you want to take your food photography to the next level, props and backgrounds are two essential tools you need to master. Props can add a sense of scale to your shots, help you tell a story, and even create contrast between your dish and the surrounding space.
When it comes to choosing the right props, think about what complements your dish. For example, if you’re photographing a bowl of soup, a spoon or a crusty piece of bread can add a nice touch. However, too many props can also be distracting, so make sure to keep it simple and elegant.
The background of your shot can also make all the difference in enhancing the overall mood and composition. Consider the color, texture, and shape of your background, and how it complements your dish. Some popular choices for food photography backgrounds include vintage cutting boards, marble slabs, and rustic wooden tables.
Ultimately, the key to successful props and backgrounds in food photography is to experiment and find what works best for you and your style. Have fun with it, and don’t be afraid to try new things!
Editing and Post-Processing
Now that you’ve captured some stunning shots of your delicious dishes, it’s time to take your food photography to the next level with editing and post-processing.
First up, color correction. This technique involves adjusting the saturation, hue, and brightness levels of your photo to remove any unwanted color casts and balance the image. Use a photo editing software like Adobe Lightroom or Photoshop to make these adjustments.
Next, exposure adjustments can help you bring out the details in your food shots. Play around with the brightness, contrast, and exposure sliders to find the perfect balance that showcases your dish in the best light.
Retouching is another important editing technique to make your food shots stand out. Smooth out any blemishes, remove distracting elements, and add a little extra sparkle to your food using these retouching techniques.
Remember, less is often more when it comes to editing food photography. Avoid going overboard with filters and effects, as this can detract from the natural beauty of your dish. Stick to simple, subtle adjustments that highlight your culinary creations.
Conclusion
Mastering the art of food photography requires attention to detail and a well-executed checklist. By following the tips and techniques outlined in this article, you’ll be able to capture stunning shots of your culinary creations that are sure to impress. Remember to choose the right equipment, set the perfect lighting, style and plate your dishes creatively, and experiment with composition, angles, props, and backgrounds. Don’t forget to edit and post-process your photos to enhance their visual appeal. With practice and patience, you’ll soon develop your own style and approach to food photography that showcases your personality and creativity. Happy shooting!

