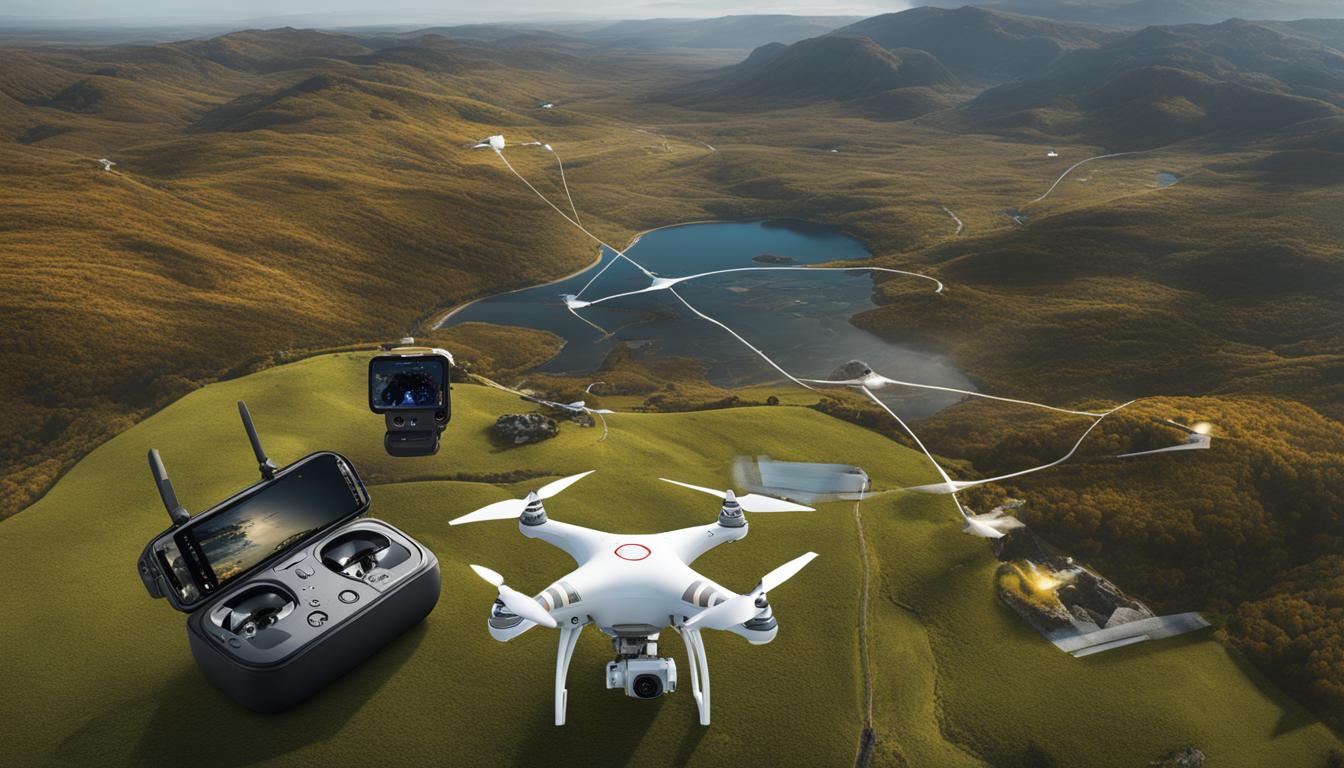
Capturing stunning aerial shots requires more than just having a drone and a camera. As a professional drone photographer, having a systematic approach towards every flight and photo shoot is crucial. Consistently following a drone photography checklist is the key to capturing awe-inspiring shots every time. So, whether you’re a seasoned pro or just starting out, this essential drone photography checklist is designed to help you elevate your photography skills to the next level.
Key Takeaways
- Having a drone photography checklist is crucial for every professional photographer
- Thorough pre-flight preparation is essential for safe and successful drone photography
- Composition and framing techniques help in creating visually appealing shots
- Understanding camera settings and exposure control is key to achieving desired results
- Mastering flight techniques and following safety guidelines is essential for both safety and photography success
Pre-Flight Preparation
Before taking off on your next drone photography adventure, taking the time for thorough pre-flight preparation is key. Not only will it ensure a successful session, but it’ll also help you avoid accidents and mishaps that could ruin your equipment or even injure others.
First things first, check the weather conditions before taking off. Higher winds can make it difficult to control your drone, and rain or snow can damage your equipment. Additionally, be sure to check for any airspace restrictions or temporary flight restrictions in the area.
Inspecting your gear before takeoff is also crucial. Make sure your drone is in excellent working condition and that the battery is fully charged. Check the propellers for any damage or wear and ensure that the remote control is functioning correctly.
It’s also helpful to pack a pre-flight checklist to ensure you don’t forget anything before heading out. This could include essentials like extra batteries, which can come in handy during longer sessions, or charging cables, in case you need to recharge your drone’s battery while out in the field.
By following these pre-flight preparation tips, you can prevent accidents and ensure a successful, productive drone photography session. Keep a proper checklist, check weather conditions, inspect your gear, and check for airspace restrictions to achieve the best results.
Composition and Framing Techniques
When it comes to capturing stunning aerial shots, composition and framing techniques are essential. These techniques help you create well-balanced and visually appealing photographs. The rule of thirds is a fundamental principle that can help you achieve balanced composition. The idea is to divide the image into thirds both vertically and horizontally and place the main subject or points of interest where the lines intersect.
Another technique to try is leading lines, which can lead the viewer’s eye to the main subject and add depth to the photograph. This could be a natural line, such as a river or shoreline, or something created by the drone itself, such as a path in a park.
Make use of negative space, which is the empty space in the photograph, to create balance and draw attention to the main subject. Consider the framing of your shot, using natural elements such as trees or architecture to create a frame within the photo.
Experiment with different angles, heights, and distances to capture unique and captivating shots. Try shooting from a low altitude or a bird’s eye view to change perspectives and add interest to your images. Don’t be afraid to be creative with your shots!
Camera Settings and Exposure Control
To achieve top-notch results in drone photography, you need to be proficient in adjusting camera settings and controlling exposure. If you want to avoid washed-out or underexposed images, understanding the key concepts is a must. The three main camera settings you should pay attention to are ISO, shutter speed, and aperture.
ISO
The ISO determines the sensor’s sensitivity to light. A low ISO, such as 100–400, works best in bright environments, while a high ISO of 800 or above is better for low-light conditions. However, increasing the ISO too much leads to image noise, reducing the image quality.
Shutter Speed
Shutter speed affects the exposure time, controlling the amount of light that enters the camera. The faster the speed, the less light that enters the camera, and vice versa. The rule of thumb is to set the shutter speed to double the frame rate, such as 1/60, for a 30 fps footage. This setting gives the drone time to capture enough light, avoiding blurry or overexposed images.
Aperture
The aperture refers to the opening through which the light enters the lens. It controls the depth of field, affecting the sharpness and blur of the background and foreground. A larger aperture, such as f/2.8, results in a shallow depth of field, blurring the background. A smaller aperture, such as f/11 or f/16, creates a wider depth of field, making more elements in the image sharp and clear.
Another crucial aspect of exposure control is bracketing, which involves taking multiple shots of the same scene with different exposure levels. This technique ensures you have enough material to pick the best shot and fine-tune the image.
Remember, mastering camera settings and exposure control is the key to capturing stunning aerial photographs with your drone. Keep practicing and experimenting with different settings to find what works best for your needs.
Flight Techniques and Safety Guidelines
Drone photography can be an exciting experience, but mastering flight techniques and following safety guidelines is imperative. To ensure both the quality of your shots and the safety of your drone and others, here are some essential guidelines to follow:
1. Check the surroundings before takeoff
Before launching your drone, make sure that the environment is safe. Examine the surroundings for any potential obstacles or hazards that could damage your drone and endanger bystanders. It’s vital to know the area’s regulations and airspace limitations and see if any other flying devices are present or not.
2. Keep an eye on your drone at all times
While your drone is in flight, keep it in your line of sight. Losing track of your drone can lead to accidents that can damage property and hurt people.
3. Avoid flying near crowds or public events
It’s always best to fly your drone in areas with minimal or no human activity. Flying near crowds or public events is dangerous and may violate privacy laws.
4. Master the flight controls
Before beginning your drone photography session, take time to master the flight controls to avoid uncontrollable crashes. Learning the basic flight maneuvers can help you capture stunning aerial shots and avoid accidents.
5. Maintain a safe distance from other drones or flying objects
When flying a drone, always respect other users’ space, and maintain a safe distance from other drones or flying objects. Depending on the country, there might be a set rule regarding this.
By following these flight techniques and safety guidelines, it’s possible to make the most of your drone photography experience.
Post-Processing and Editing Tips
After you’ve captured stunning aerial shots, it’s time to bring them to life with post-processing and editing. This stage plays a crucial role in enhancing and fine-tuning your photographs, making them pop and stand out. In this section, we’ll explore some post-processing and editing tips to help you make your drone photography shine.
Shoot in RAW format
When it comes to editing your photographs, shooting in RAW format is highly recommended. This format captures all image data without any compression, giving you greater control over the final result in post-processing. RAW files are larger, but the added data allows you to make adjustments without losing quality.
Avoid Over-Processing
It’s easy to over-process your images when you’re editing them, especially if you’re new to post-processing. Over-processing can lead to unrealistic colors and artificial-looking photos. Always keep your edits subtle and aim for a natural look that showcases the beauty of the scene.
Crop and Straighten
Don’t be afraid to crop your images and adjust the composition in post-processing. Cropping can help you eliminate unwanted elements and improve the overall visual flow of the photograph. Additionally, straightening can be a quick and effective way of enhancing the image’s composition without doing major edits.
Adjust Colors and Contrast
A simple but effective way to enhance your images in post-processing is to adjust the colors and contrast. Experiment with the vibrance and saturation settings, and consider using the curves tool to fine-tune the color balance. Adjusting the contrast can help you bring more depth and dimensionality to your shots.
Sharpen and Reduce Noise
Noise reduction and sharpening are often used to fine-tune the details and quality of an image. You may need to reduce noise if you’re shooting in low light or high ISO settings, while sharpening can enhance the overall clarity and definition of your shots. However, it’s important to use these tools judiciously and not end up with an over-sharpened or unnatural-looking image.
Conclusion
That’s a wrap for our essential drone photography checklist for pros! We hope that these tips and tricks will help you capture stunning aerial shots and take your drone photography skills to the next level.
Remember, pre-flight preparation, composition, camera settings, flight techniques, safety guidelines, and post-processing are all equally important for creating breathtaking photos that stand out from the rest.
Make sure to tick off all the items on our checklist before taking off, and don’t forget to have fun and experiment with different angles and perspectives. With practice and determination, you’ll be on your way to capturing awe-inspiring aerial images that leave a lasting impression.

