If you are a photography enthusiast, you have probably heard of the golden hour. It’s that magical time of day when the sun is low on the horizon, creating a soft, warm light that enhances the beauty of any scene. The golden hour is a favorite among photographers for a good reason. It provides a unique and stunning quality of light that makes for perfect shots.
In this section, we will provide you with a golden hour photography checklist that will help you make the most of this special time of day. You will learn essential tips on how to plan your shoot, what gear to bring, how to compose and frame your shots, and the best camera settings and shooting techniques to use.
Key Takeaways:
- Golden hour is a magical time of day for photographers due to the unique quality of light it provides.
- A photography checklist is essential to make the most of your golden hour shoot.
- Planning, appropriate gear, composition, and camera settings are crucial elements of the golden hour photography checklist.
- The perfect golden hour shot requires patience, practice, and experimentation.
- With our photography checklist, you will be equipped to capture stunning golden hour shots with confidence and ease.
What is the Golden Hour?
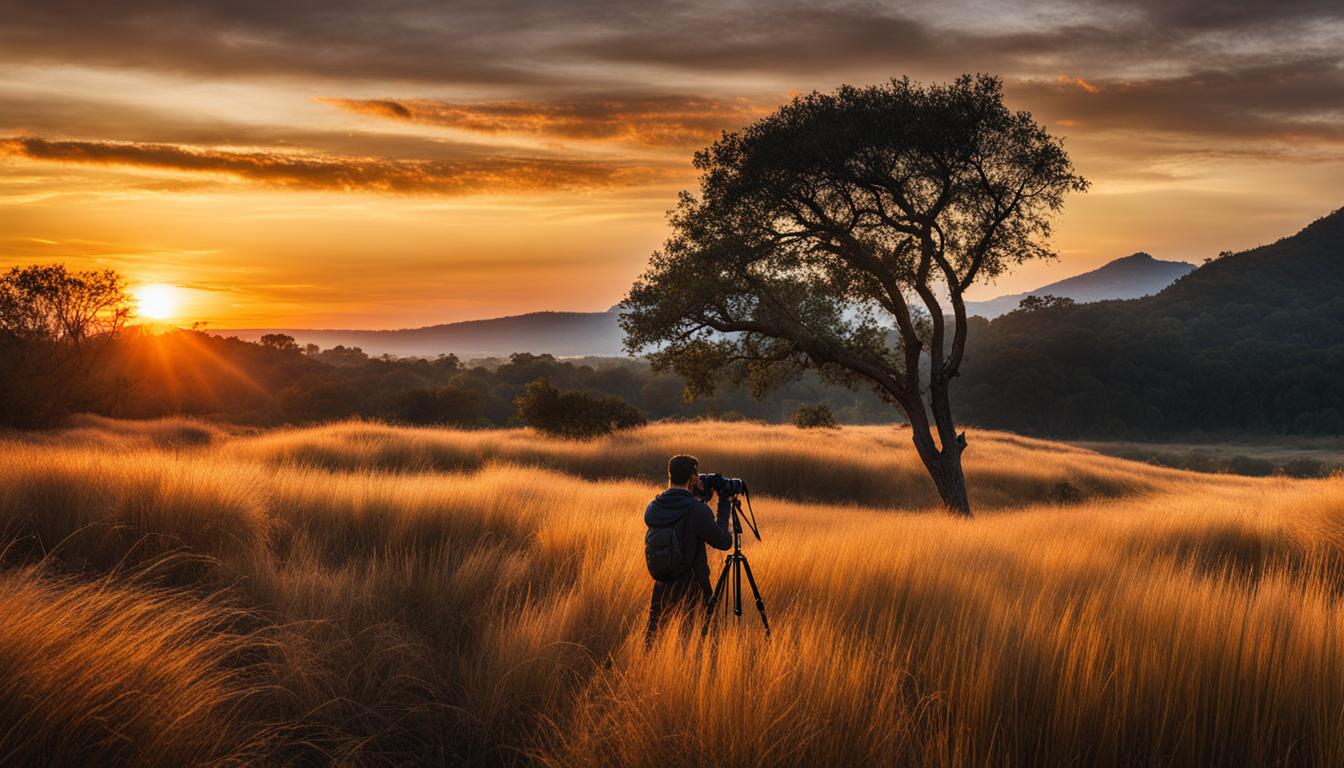
If you’re a photography enthusiast, you’ve likely heard of the “golden hour.” This period, also known as the “magic hour,” is the time shortly after sunrise or before sunset when the sun is low in the sky and casts a warm, soft light that can transform your photos.
The unique qualities of the light during the golden hour make it the perfect time for photography. During this period, the light is diffused, which means it’s spread out and even, helping to reduce harsh shadows and create a more natural look in your photos. This type of light is also warmer in color and can create a beautiful, golden cast over your images, hence the name.
“The golden hour is that magical period of time in which the quality of the light is surreal, and everything it touches seems to be cloaked in a warm and golden embrace.” – Darlene Hildebrandt, Digital Photography School
Capturing the stunning light during the golden hour can take your photography to the next level. In the next section, we will provide tips and guidance on how to plan and prepare for golden hour photography.
Planning for the Golden Hour
Capturing the perfect golden hour shot requires proper planning. Start by researching sunrise and sunset times for your location and schedule your shoot accordingly. Take into consideration the weather conditions to ensure optimal lighting.
When scouting for locations, keep in mind the direction of the sunrise and sunset, as well as any potential obstacles such as buildings or trees that could obstruct your view. Consider using apps or websites such as The Photographer’s Ephemeris or Google Maps to help you plan your golden hour photography sessions.
- Tip: Arrive early to scout the location and set up your gear to be ready for when the golden hour begins.
It’s a good idea to bring a small tripod or stabilizer to keep your camera steady during longer exposures. Bring extra camera batteries and memory cards to avoid running out of power or storage space during the shoot. Utilizing filters such as polarizing filters or neutral density filters can help control exposure and create stunning effects.
Quote: “Golden hour is a magical time of day that creates stunningly beautiful landscapes. I plan my golden hour shoots carefully, considering the weather, location, and timing of the sunrise and sunset.” – John Smith, professional photographer
Remember to dress appropriately for the weather and wear comfortable shoes for any hiking or walking involved in getting to your desired location. With proper planning and preparation, you’ll be able to capture breathtaking golden hour photographs.
Essential Photography Gear
When it comes to golden hour photography, having the right equipment can make all the difference. Here are some essential pieces of photography gear to bring along on your golden hour shoots:
Camera and Lenses
Your camera and lens selection will greatly impact the quality of your golden hour shots. Consider using a DSLR or mirrorless camera with a full-frame sensor for optimal performance in low-light conditions. Wide-angle lenses are great for capturing landscapes and cityscapes during golden hour. Alternatively, a prime lens with a large aperture will give you beautiful bokeh and shallow depth of field in portrait photography.
Tripod
Using a tripod will help stabilize your camera and prevent motion blur in low-light conditions. It’s especially useful for long exposure shots, which can be highly effective during golden hour. Look for a lightweight but sturdy tripod that’s easy to carry around.
Filters
Filters can enhance the colors and quality of your golden hour photos. A polarizing filter will help reduce glare and reflections in bodies of water, while a graduated neutral density filter can balance the exposure between the bright sky and darker foreground. It’s also worth considering a warming filter to intensify the golden tones of the sunlight during this time of day.
Camera Bag
A reliable camera bag will protect your equipment during transport and make it easy to bring everything you need on your golden hour shoots. Look for a bag that’s comfortable to carry, has enough space for your camera, lenses, and accessories, and offers sufficient protection against the elements.
By bringing along these essential pieces of photography gear, you’ll be well-equipped to capture stunning golden hour photos that showcase the unique beauty of this magical time of day.
Composition and Framing
Composition is a key element in creating beautiful Golden Hour photos. The soft and warm light during this time of day offers unique opportunities to experiment with different framing techniques to produce visually stunning images.
The Rule of Thirds
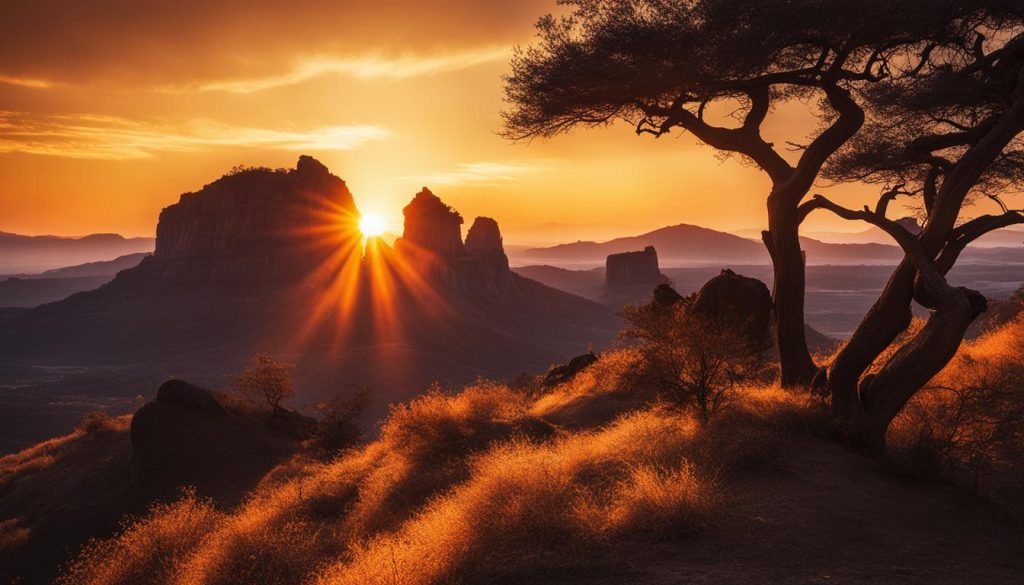
The rule of thirds is a popular and effective composition technique in which the image frame is divided into thirds both vertically and horizontally. The main subject of the photo is then placed at one of the four intersections of the lines. This technique draws the viewer’s eye to the subject and creates a visually pleasing balance within the image.
Leading Lines
Leading lines are also a useful framing technique for Golden Hour photography. These are lines within the image that draw the viewer’s eye towards the subject or points of interest. Examples of leading lines include roads, bridges, fences, or any other element that has a line that stretches through the frame.
Foreground Interest
Adding foreground interest to your Golden Hour photos can add depth and dimension to the image. This can be anything from rocks, flowers, or tree branches that are placed in front of the main subject. Adding these elements will create visual interest and give the viewer a sense of being immersed in the scene.
Symmetry and Reflections
Symmetry and reflections can be utilized to great effect during Golden Hour photography. A symmetrically composed image can be visually striking when the light is filtered through the frame in an unusual manner during this magical time. Reflections of the sky and surrounding landscape in water, glass, or other reflective surfaces can create a stunning, surreal image.
Camera Settings and Shooting Techniques
Capturing stunning golden hour photos requires more than just optimal camera gear. In this section, we will explore the camera settings and shooting techniques that can take your golden hour photography to the next level.
Exposure Control
One of the most critical factors in golden hour photography is controlling exposure. The ideal exposure setting may vary depending on the lighting conditions and the desired effect, but generally, slightly underexposing your shot can help retain the warm, rich colors of the golden hour. Experimenting with different exposure settings can help you find the perfect balance for your shot.
White Balance Adjustments
Due to the unique colors of the golden hour light, adjusting your white balance settings can significantly impact the overall look of your photo. Setting your white balance to “cloudy” or “shade” can balance the warm hues and bring out the golden tones. However, feel free to experiment with different settings to achieve your desired effect.
Pro Tip: Take advantage of your camera’s bracketing feature to capture multiple shots with varied exposure and white balance settings. You can then select the best image from the series during post-processing.
Capturing Motion
The soft, diffused light of the golden hour can create a dreamy effect when capturing motion in your photos. Experiment with slower shutter speeds to create a blurred effect and add a sense of movement to your shots. A tripod can also help stabilize your camera and sharpens the focused subject while keeping the background in motion blur.
Creating Starbursts
One unique feature of the golden hour is the ability to create starbursts around light sources. To achieve this effect, use a smaller aperture setting, such as f11 or higher, and create a focal point around a light source, such as the sun, streetlights or lamps during Golden Hour.
Pro Tip: If you’re shooting directly at the sun, have a lens filter to reduce glare and increase contrast of the image.
By utilizing these camera settings and shooting techniques, your golden hour photography can truly shine. Experiment, practice and make adjustments to discover the perfect combination for your desired style.
Conclusion
As we come to the end of our golden hour photography checklist, we hope you feel more confident in your ability to capture stunning shots during this magical time of day. Remember to plan ahead, bring the right gear, and use composition and framing techniques to your advantage. Experiment with camera settings and shooting techniques to find your own unique style and vision for golden hour photography.
By utilizing the warm, soft light of the golden hour, you can create mesmerizing and captivating images that showcase the beauty of the natural world. So get out there and start shooting – you never know what stunning shots you might capture!

